This project started with something called "The PrintNC-mini".
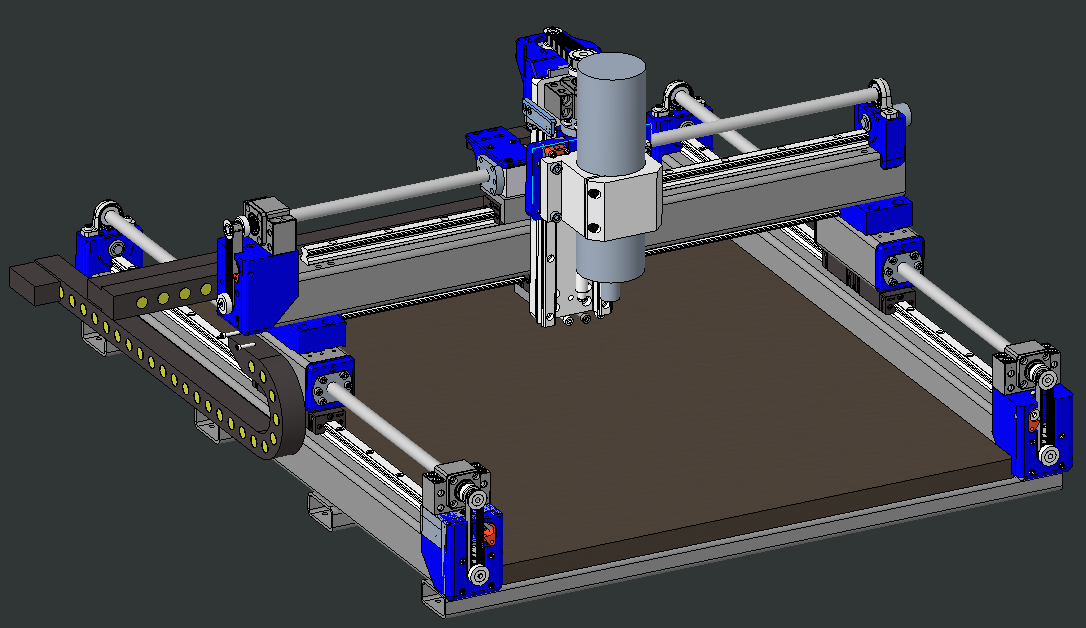
The blue components are intended to be 3D printed and then replaced with machined aluminum.
The PrintNC Mini boasts of being a CNC machine that starts like as a pile of steel tubing and 3D printed assembly. The printed parts are then replaced with parts you fabricate with that CNC.
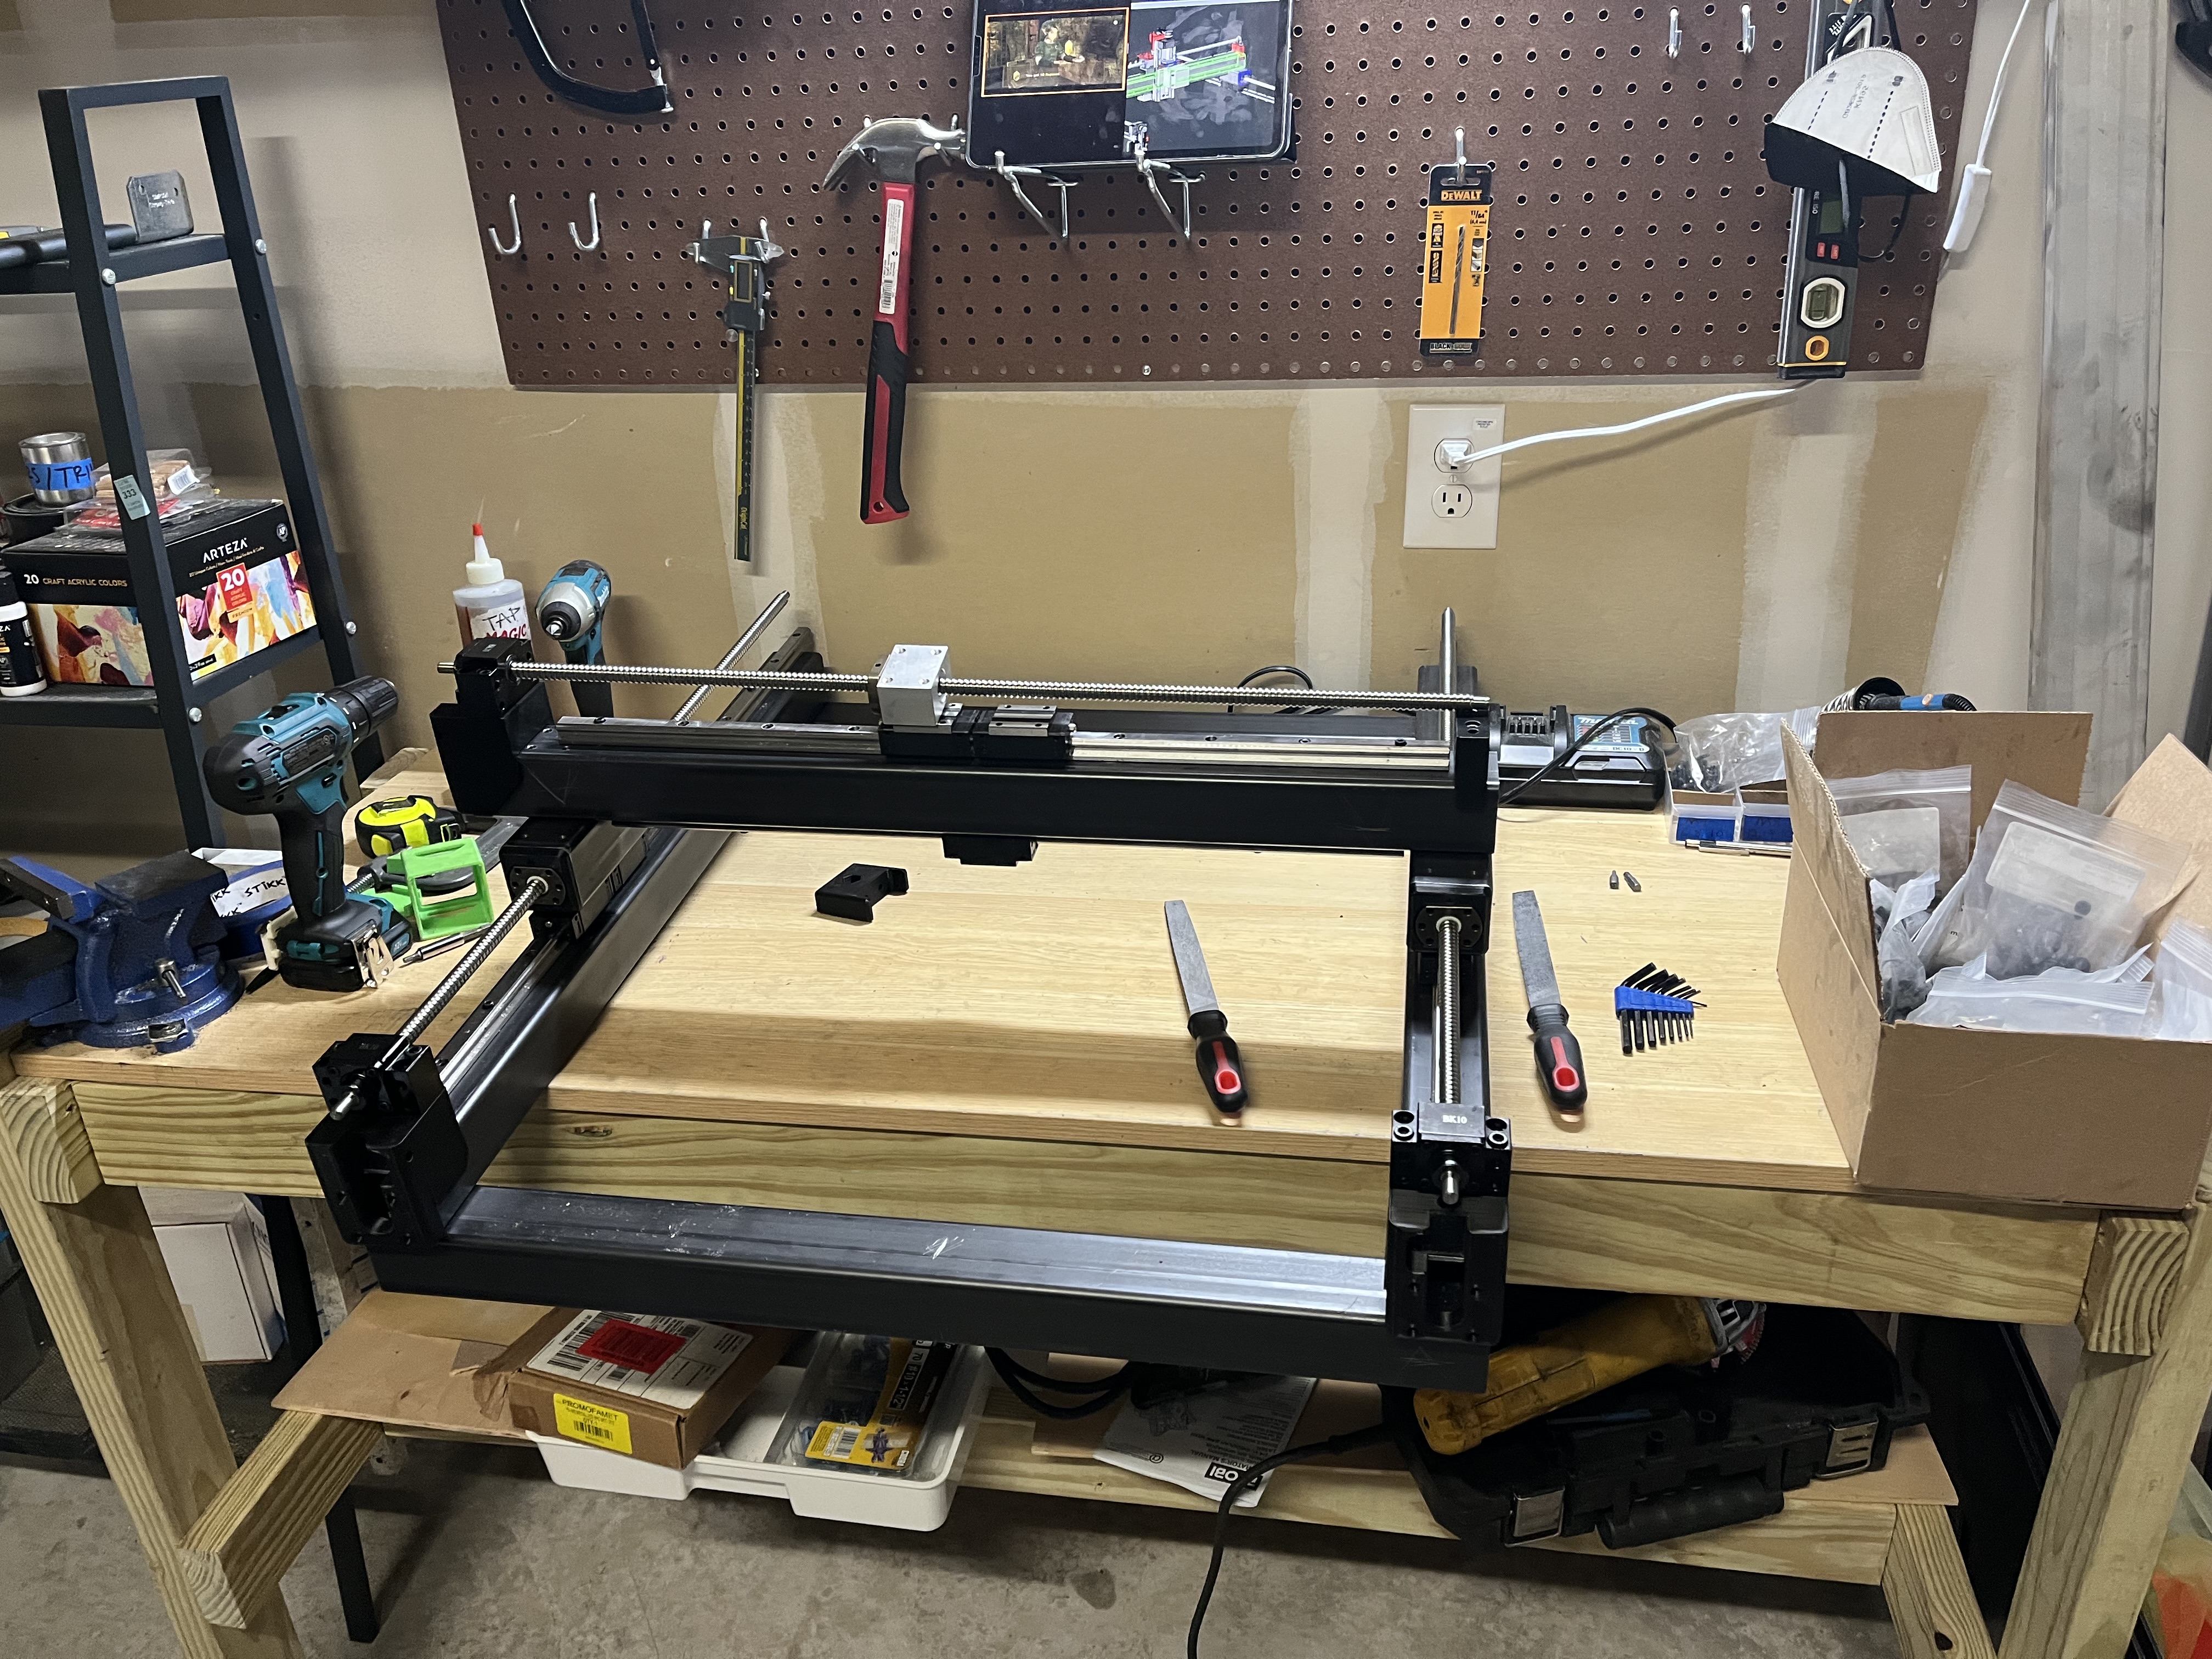
I drilled and tapped every hole for all three linear rails, and 5+ for every connection point between pieces of tubing. That’s more than 70 tapped holes and 40 more clearance holes!
Here is the base frame screwed together (minus the 2 additional cross members, which were added later). Unfortunately, I didn’t get a picture when this was on my kitchen countertop while my wife and I cooked dinner. The quartz countertop is the flattest thing in my house and I wanted to use it as a reference while shiming the linear rails.
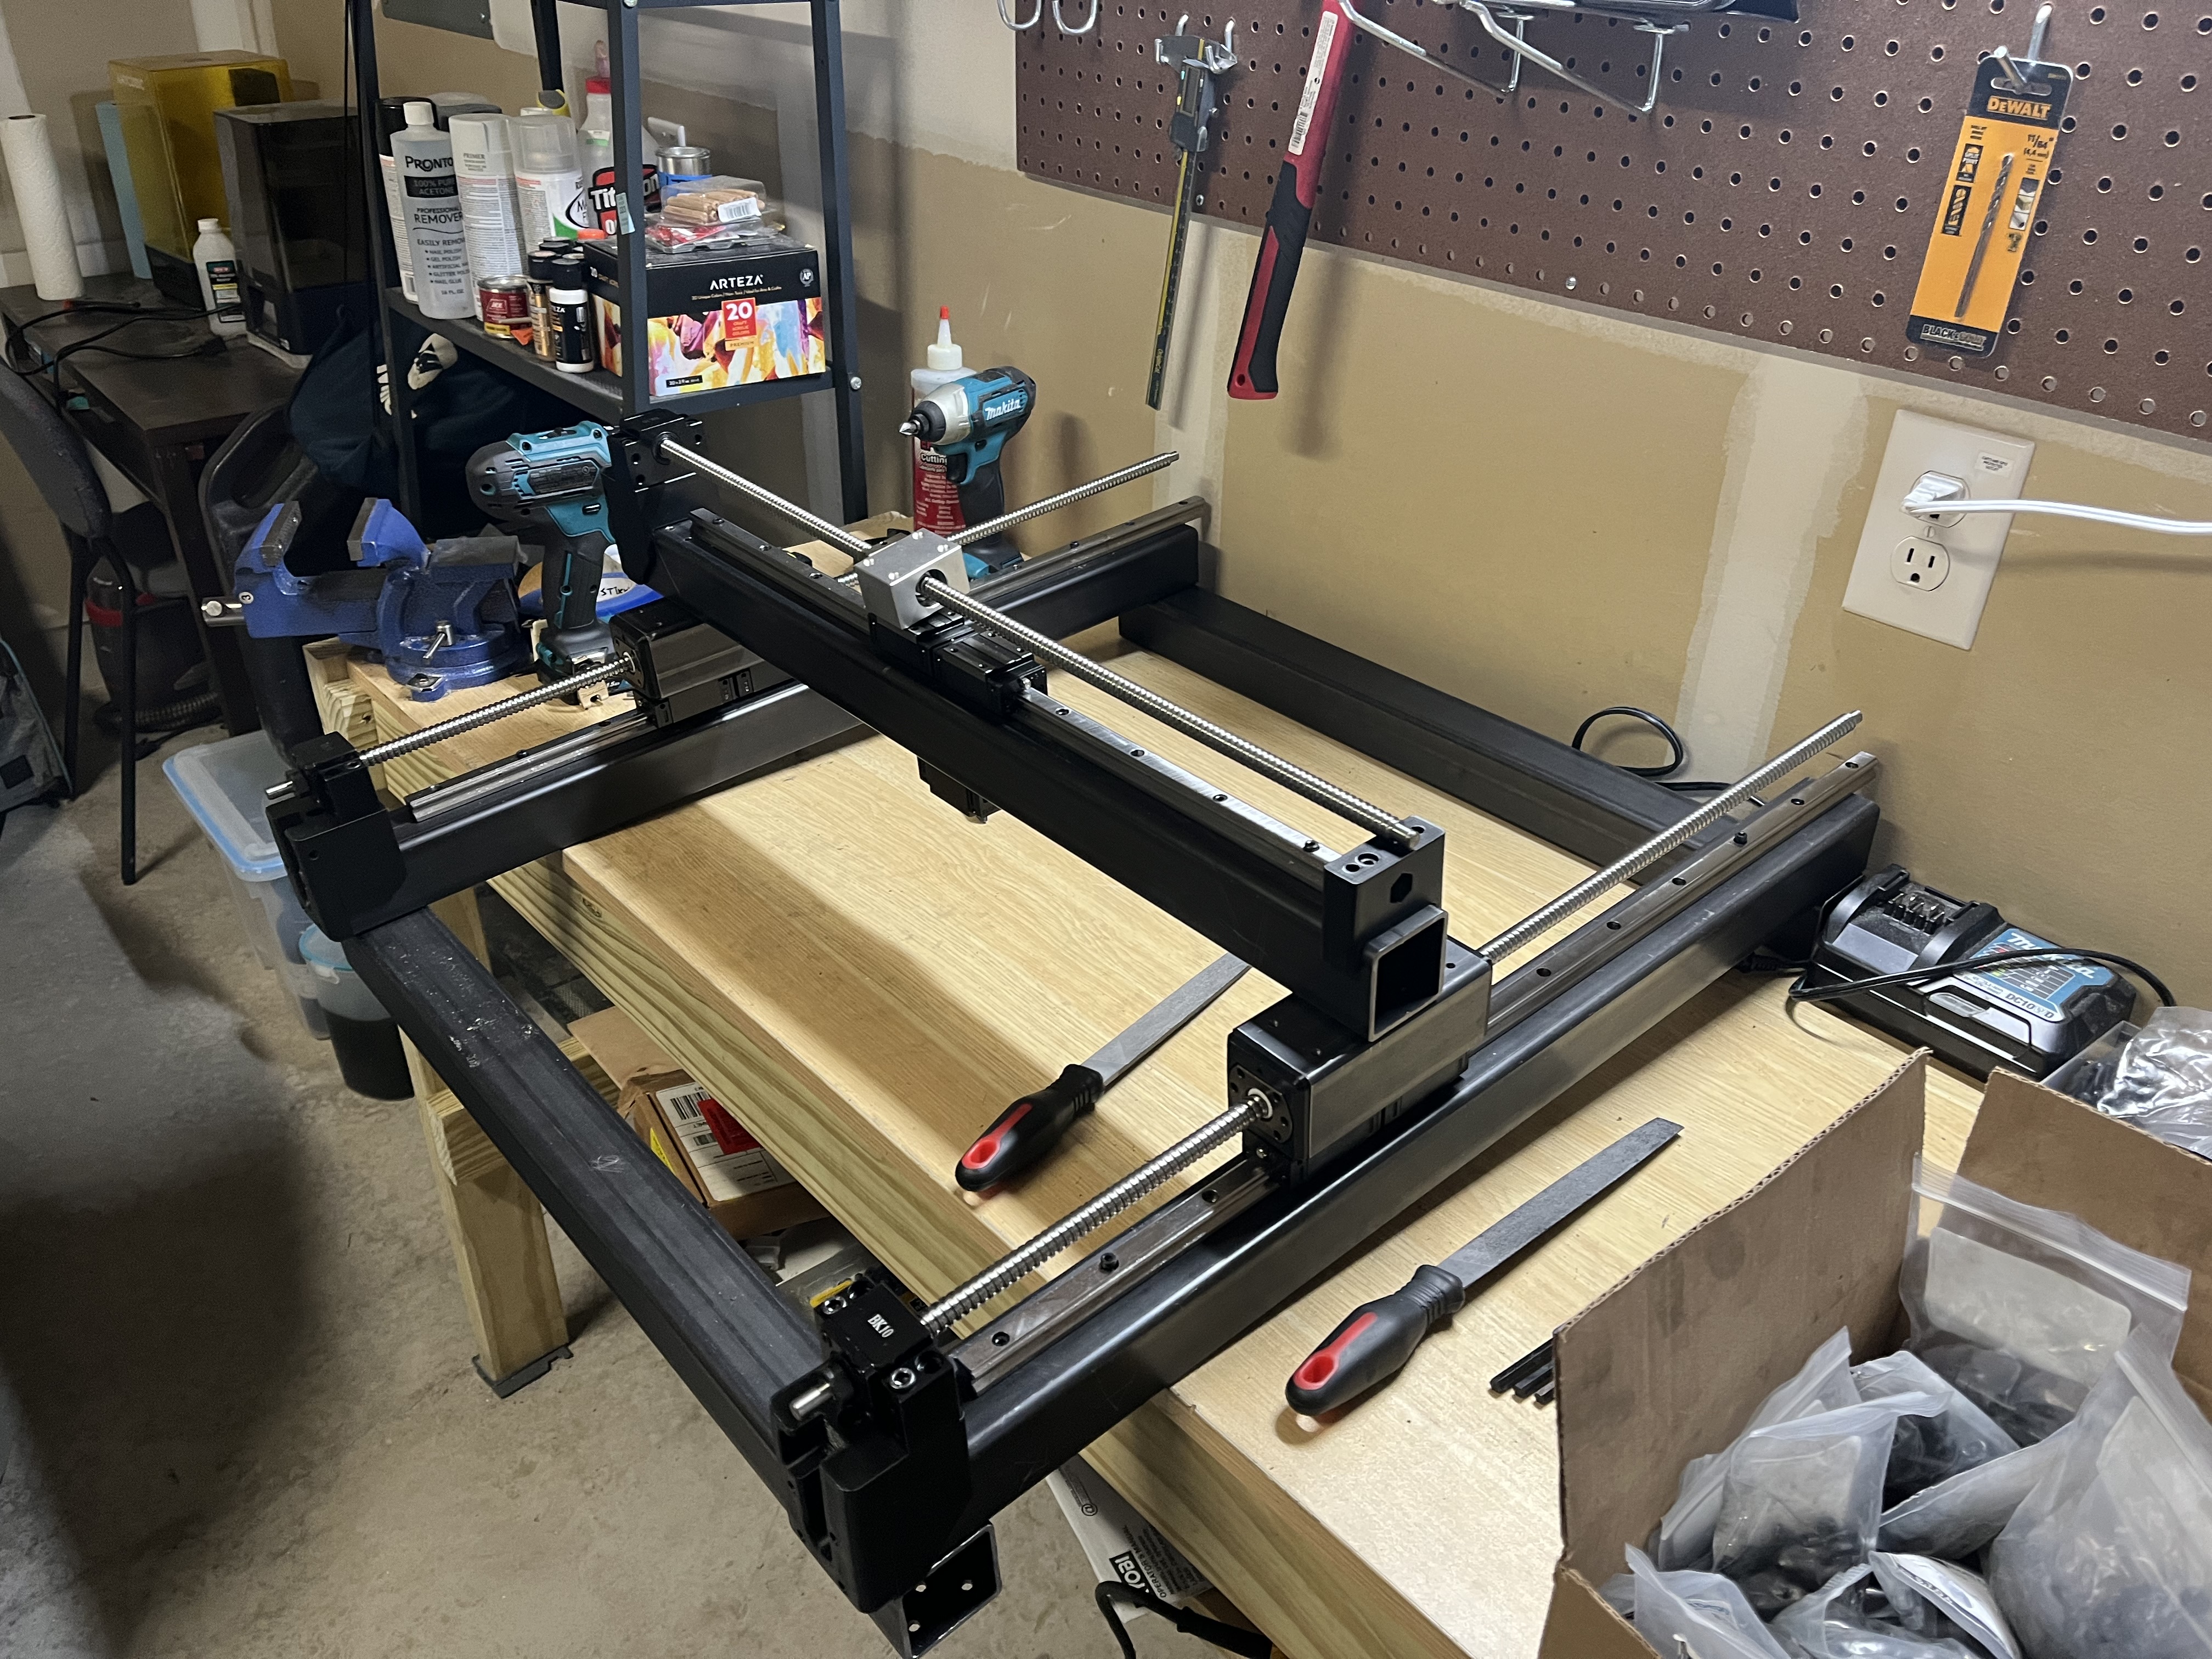
Pay attention to how clean this workbench looks, its never going to be that nice again…
If you’ll take a closer look at the design, you’ll notice that the whole gantry system of this “3D printed” CNC machine is composed of bolted steel extrusions and linear rails with a relatively short path to ground. The 3D printed components are mainly motor mounts and other accessories, which shouldn’t have much of an impact on the rigidity of the machine, especially when they are replaced with aluminum parts. This, in addition to the extremely parametric CAD is why I decided to make this machine instead of another.
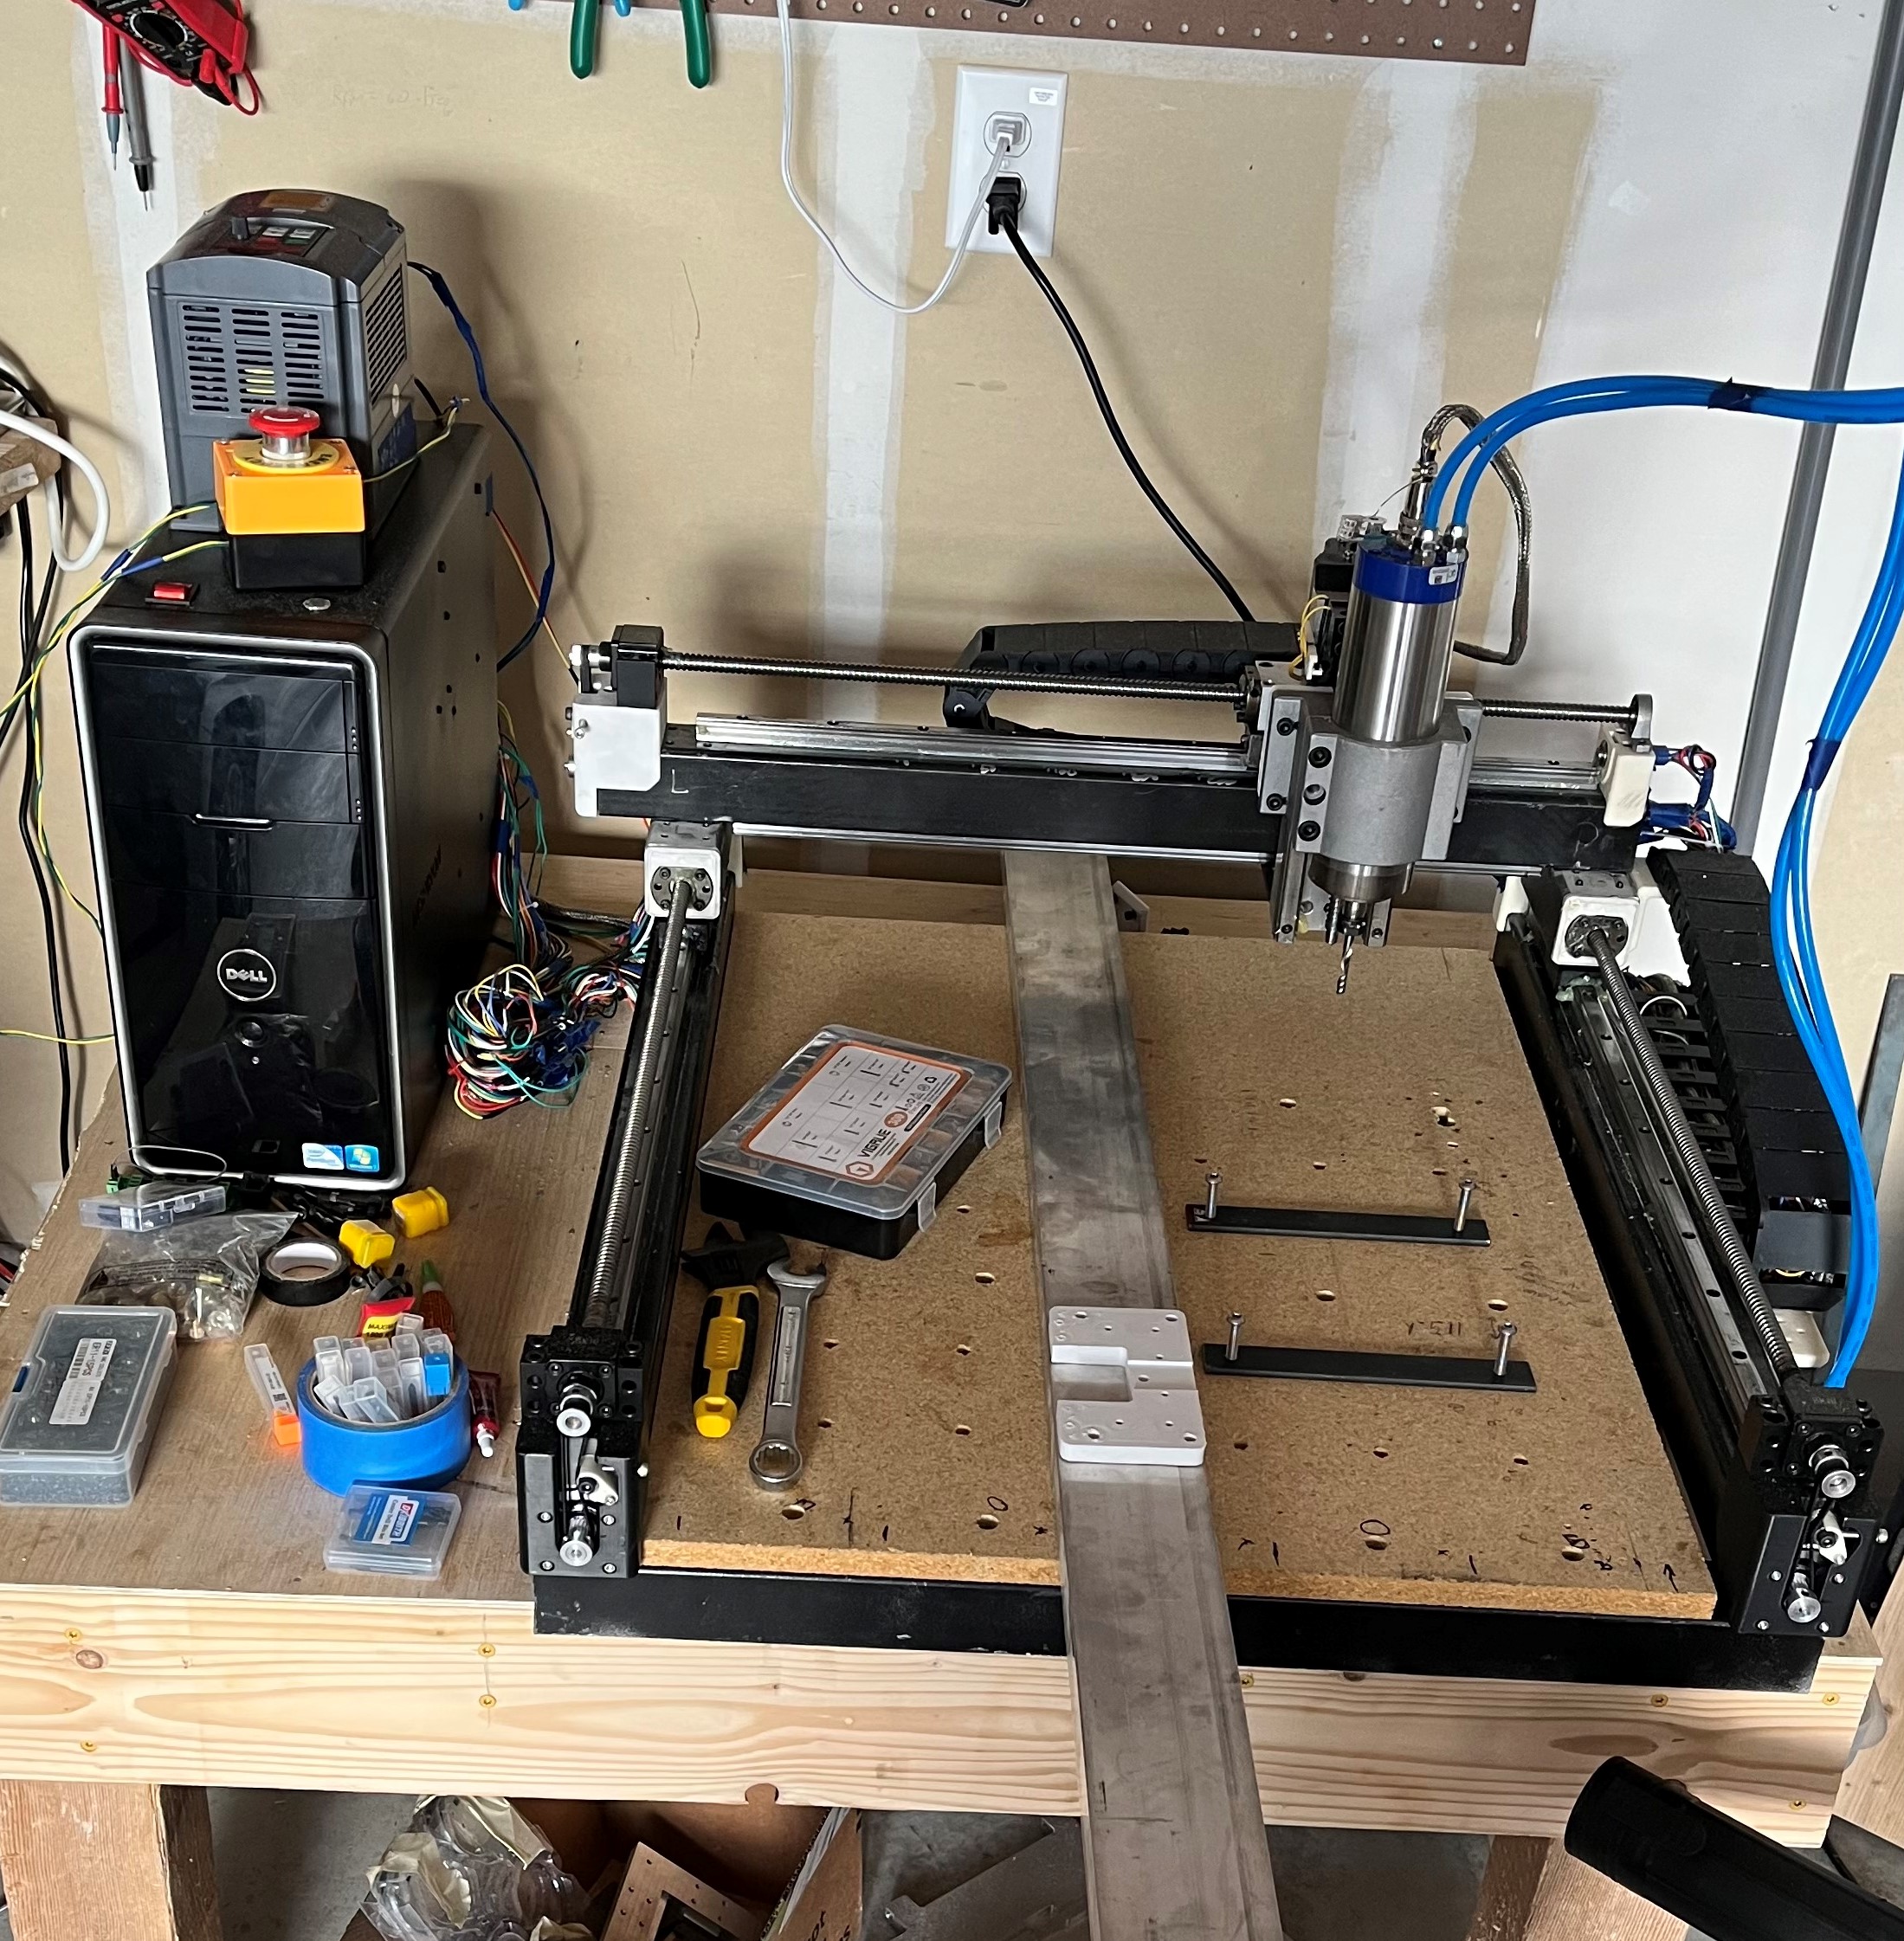
The first cuts were terrifying.
This is where we get to the bootstrapping part of the router. With the frame installed and electronics routed it was time to start cutting aluminum! I am not going into the wiring here because I don't want to re-live debugging my electronics. I spent days before I figured out that for communicaitons with SPI protocol, you can’t have cables longer than a few mm before the high comms speed causes it to time out. I still don’t really understand SPI, but I do know that I hate it.
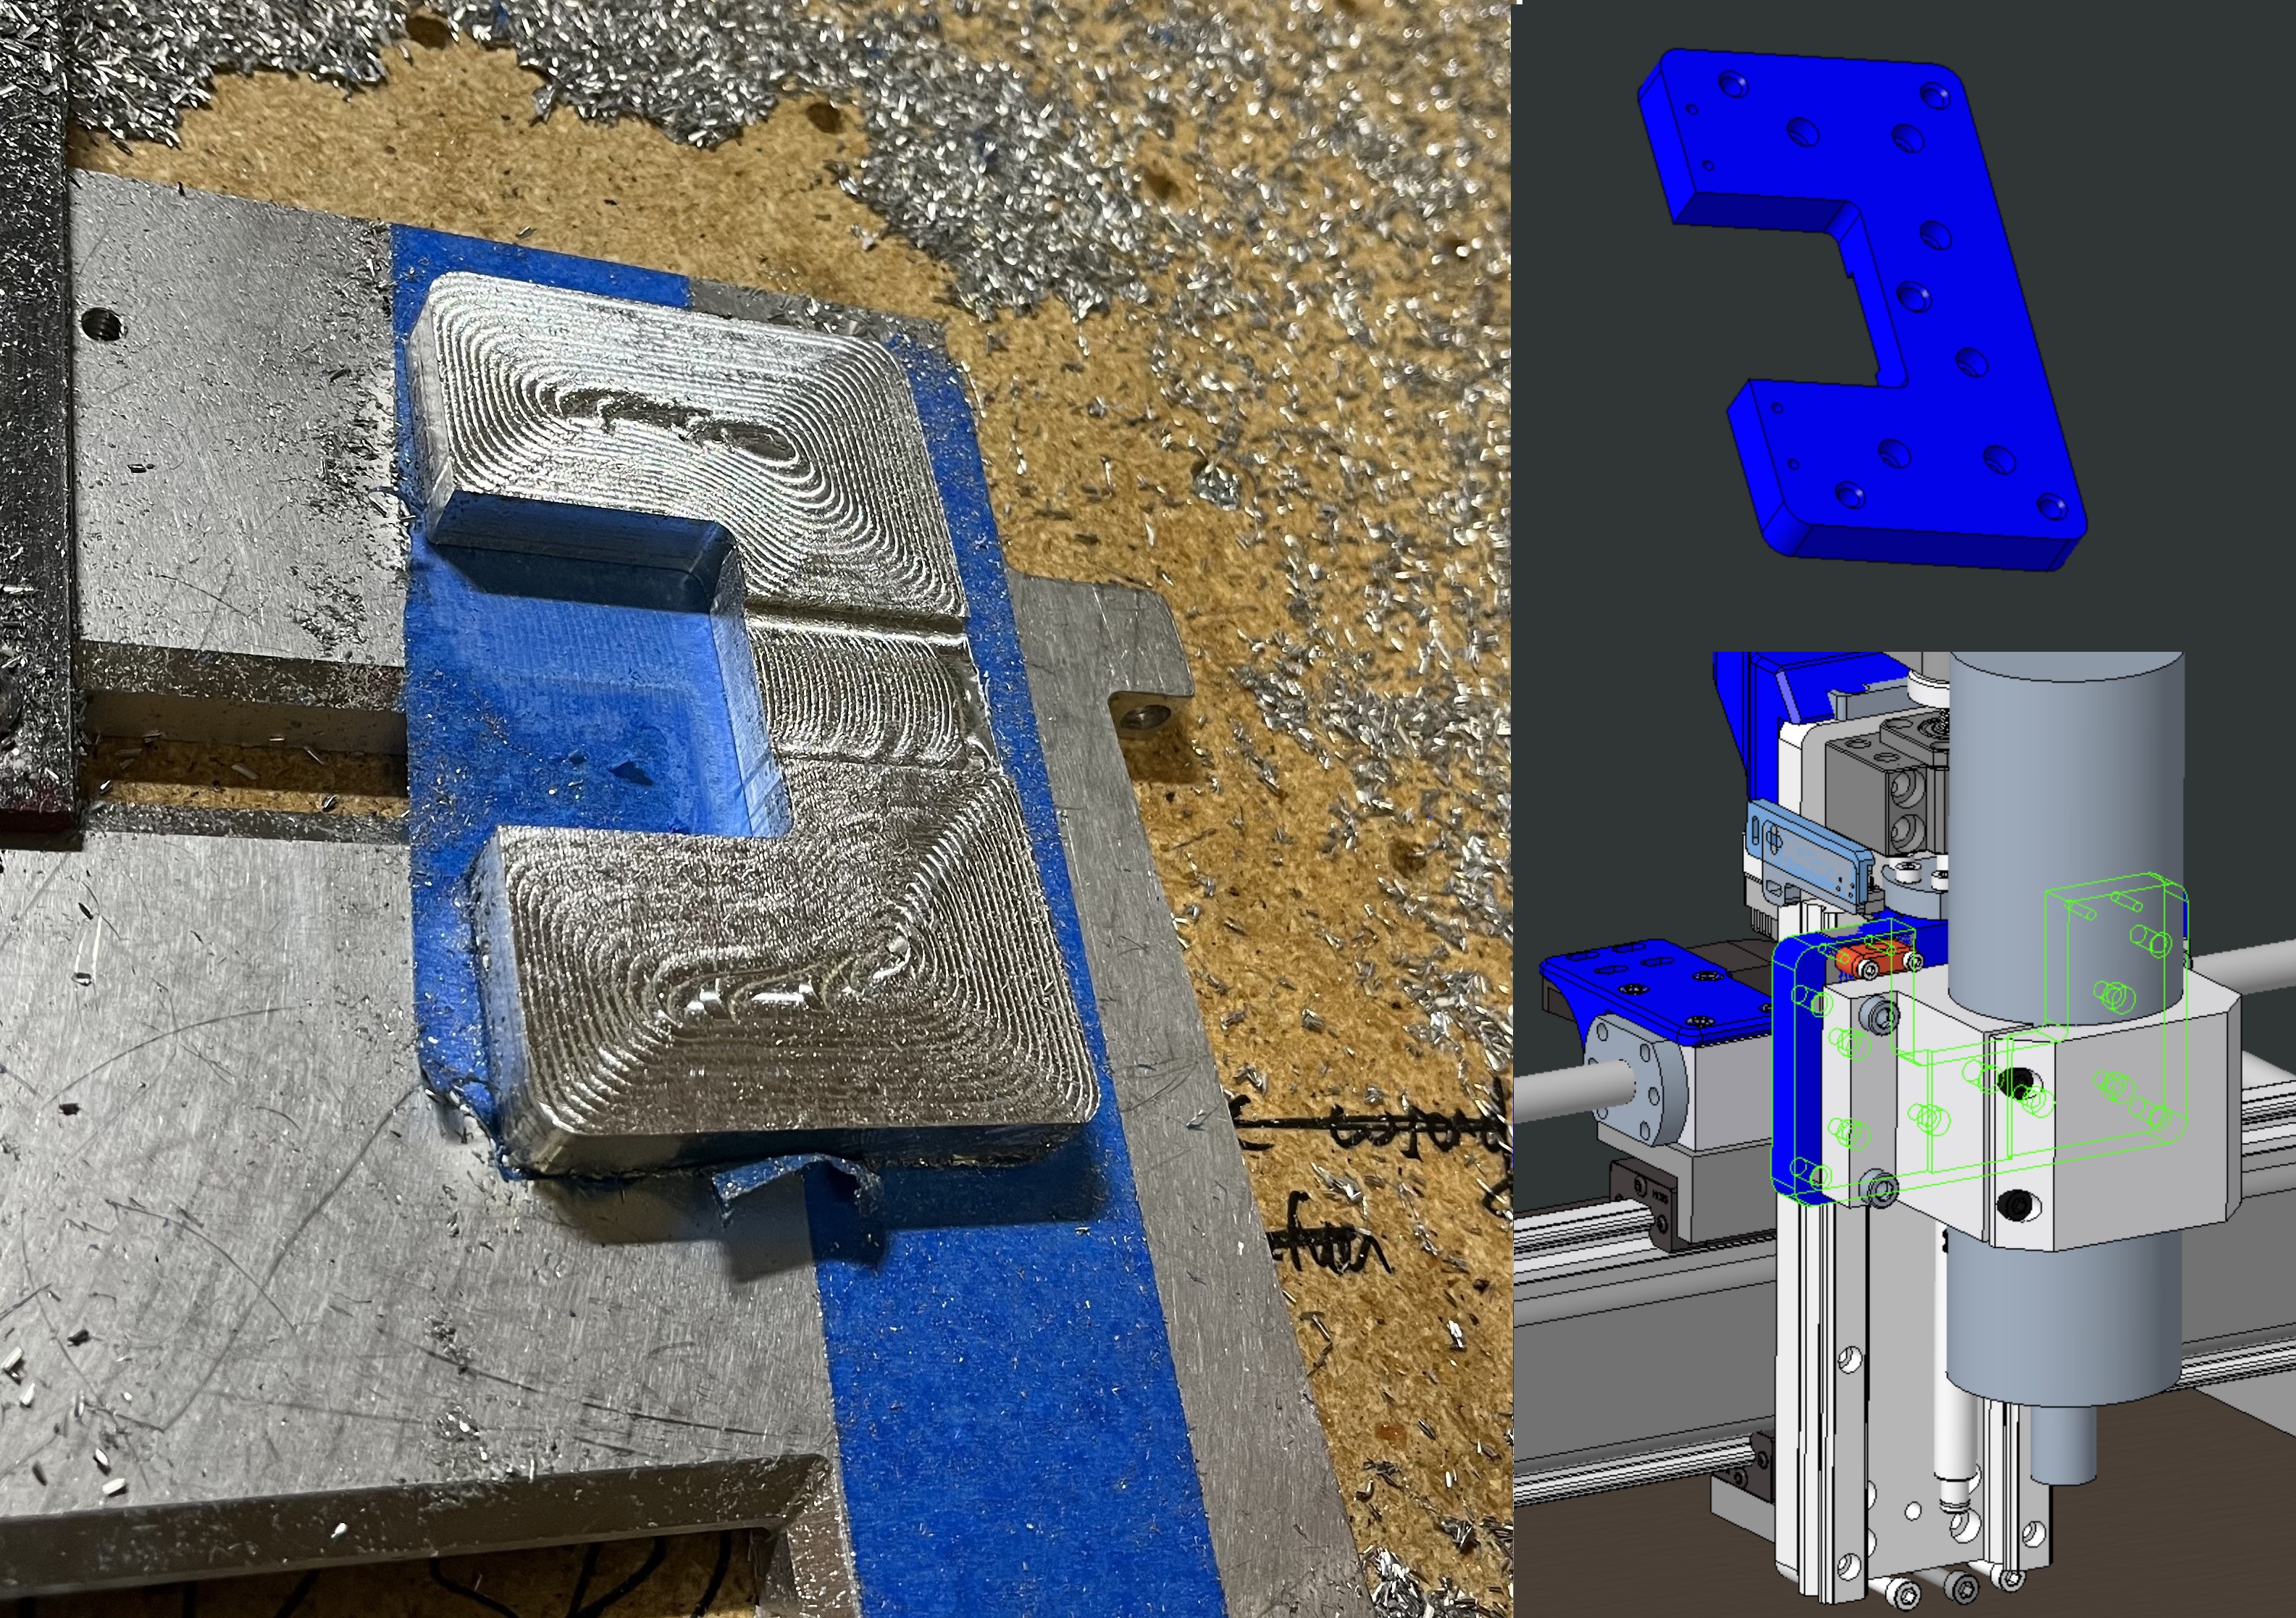
Once I got the faceplate roughed out, I was able to breath a sigh of relief.
First toolpath finished and my surface finish is kind of ...crunchy. In order to cut the faceplate, I was using a 3D printed version that barely limped though the operation. In my opinion, that is the only component where I think bootstrapping was a questionable decision. It is far too weak and I needed to baby it to stop if from vibrating to pieces. Once I got that done, the cut quality went way up and so did my confidence.
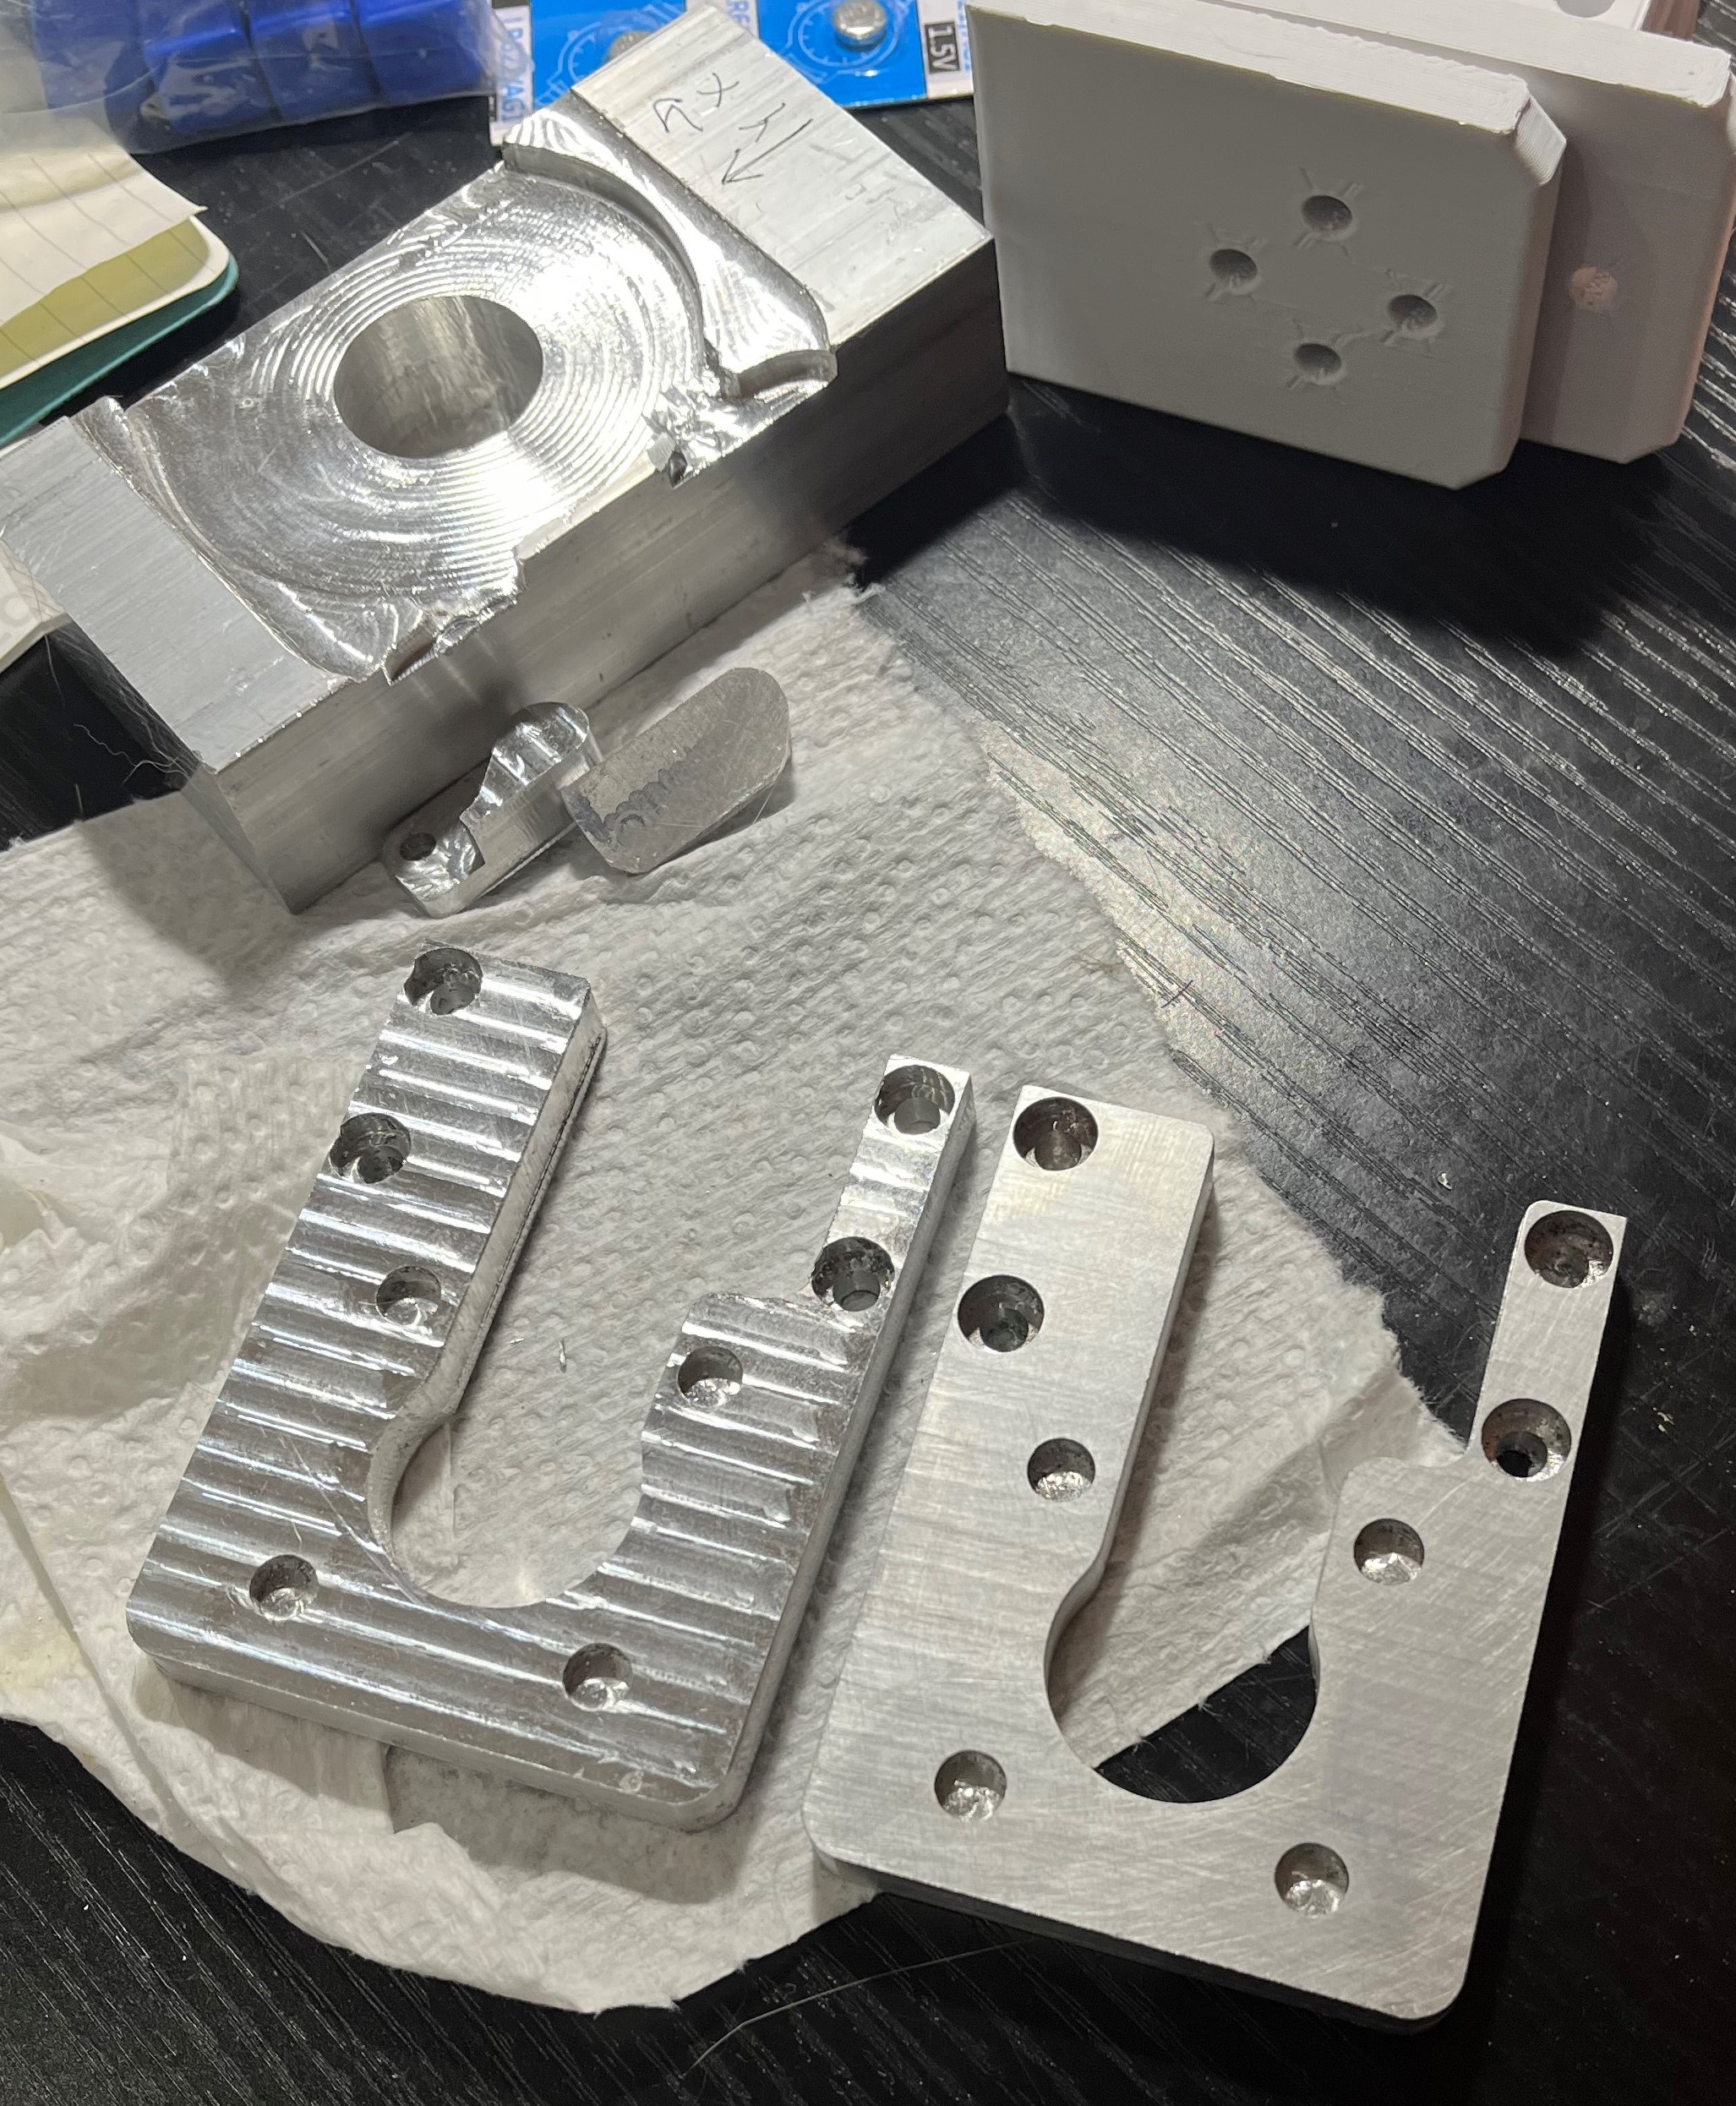
My surface finish got it a lot better, and with a little elbow grease, I was able to make these motor mounts almost presentable.
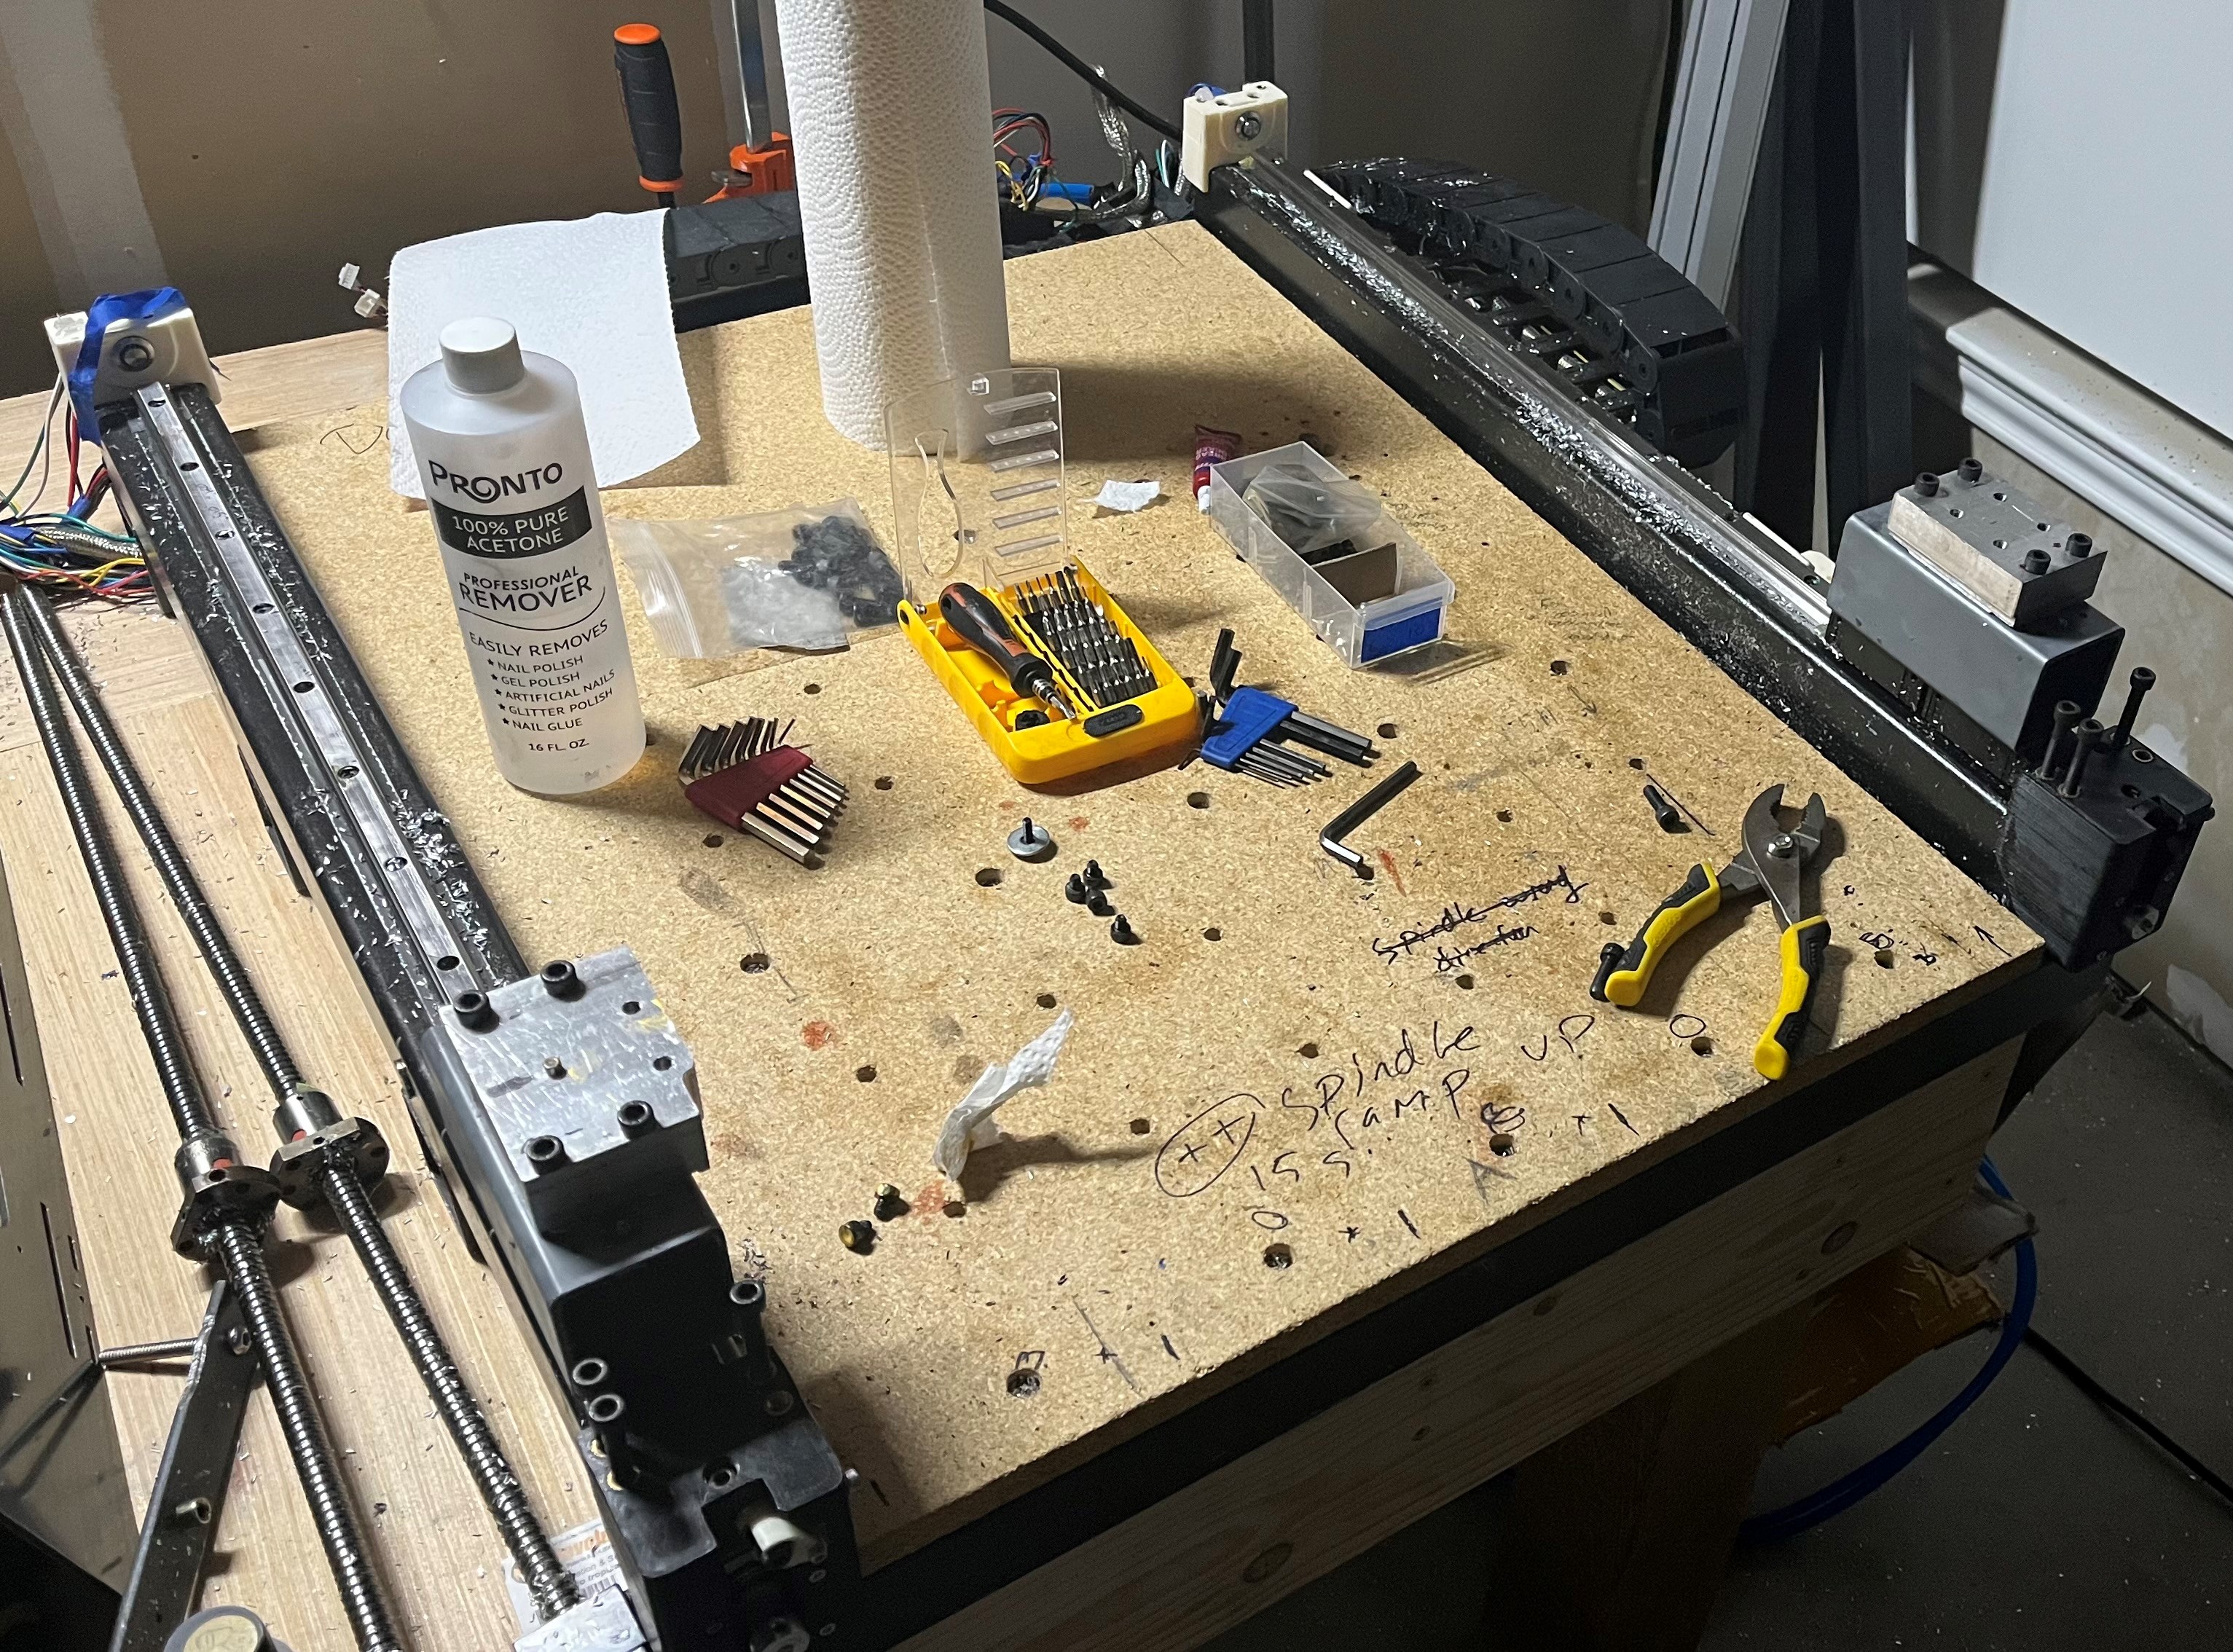
It was hard to take this thing apart, but sometimes going backwards is the only way forward.
The thin layer of grease and aluminum chips covering the machine made it much more fun to work with.

Look at it!! Soo pretty!! Hopefully parts made on this machine will feature in future projects on this page.
And there we have it! A mostly functional CNC router!
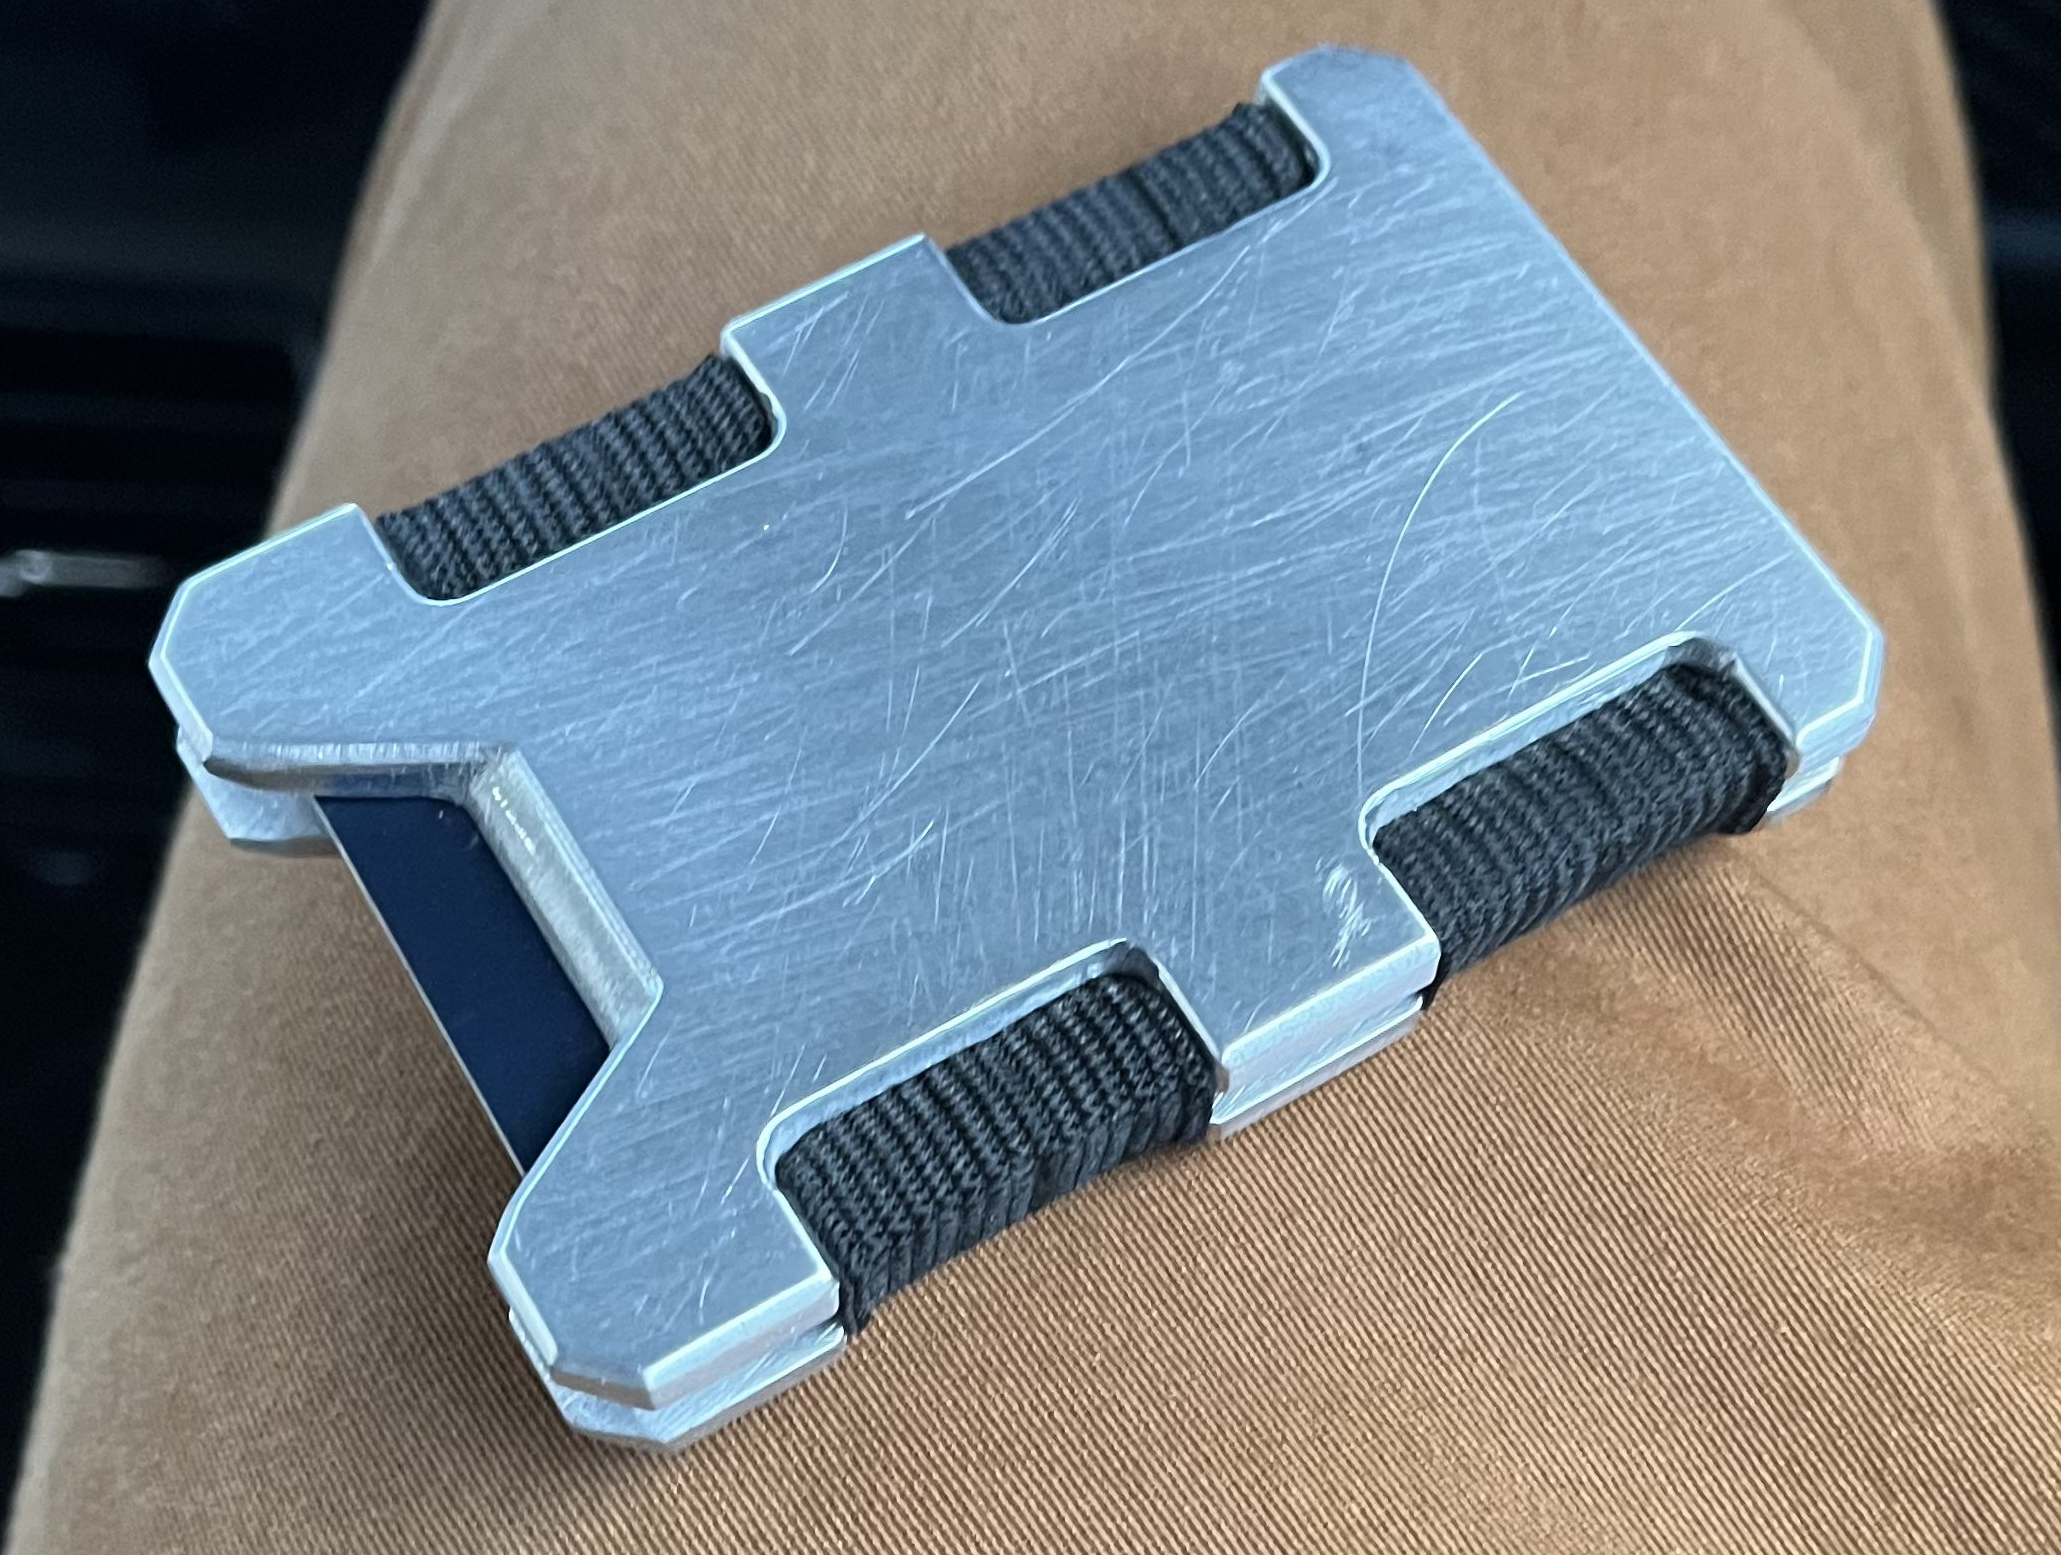
Just for fun, here are some images from my first real project on this machine - my take on a slim wallet.
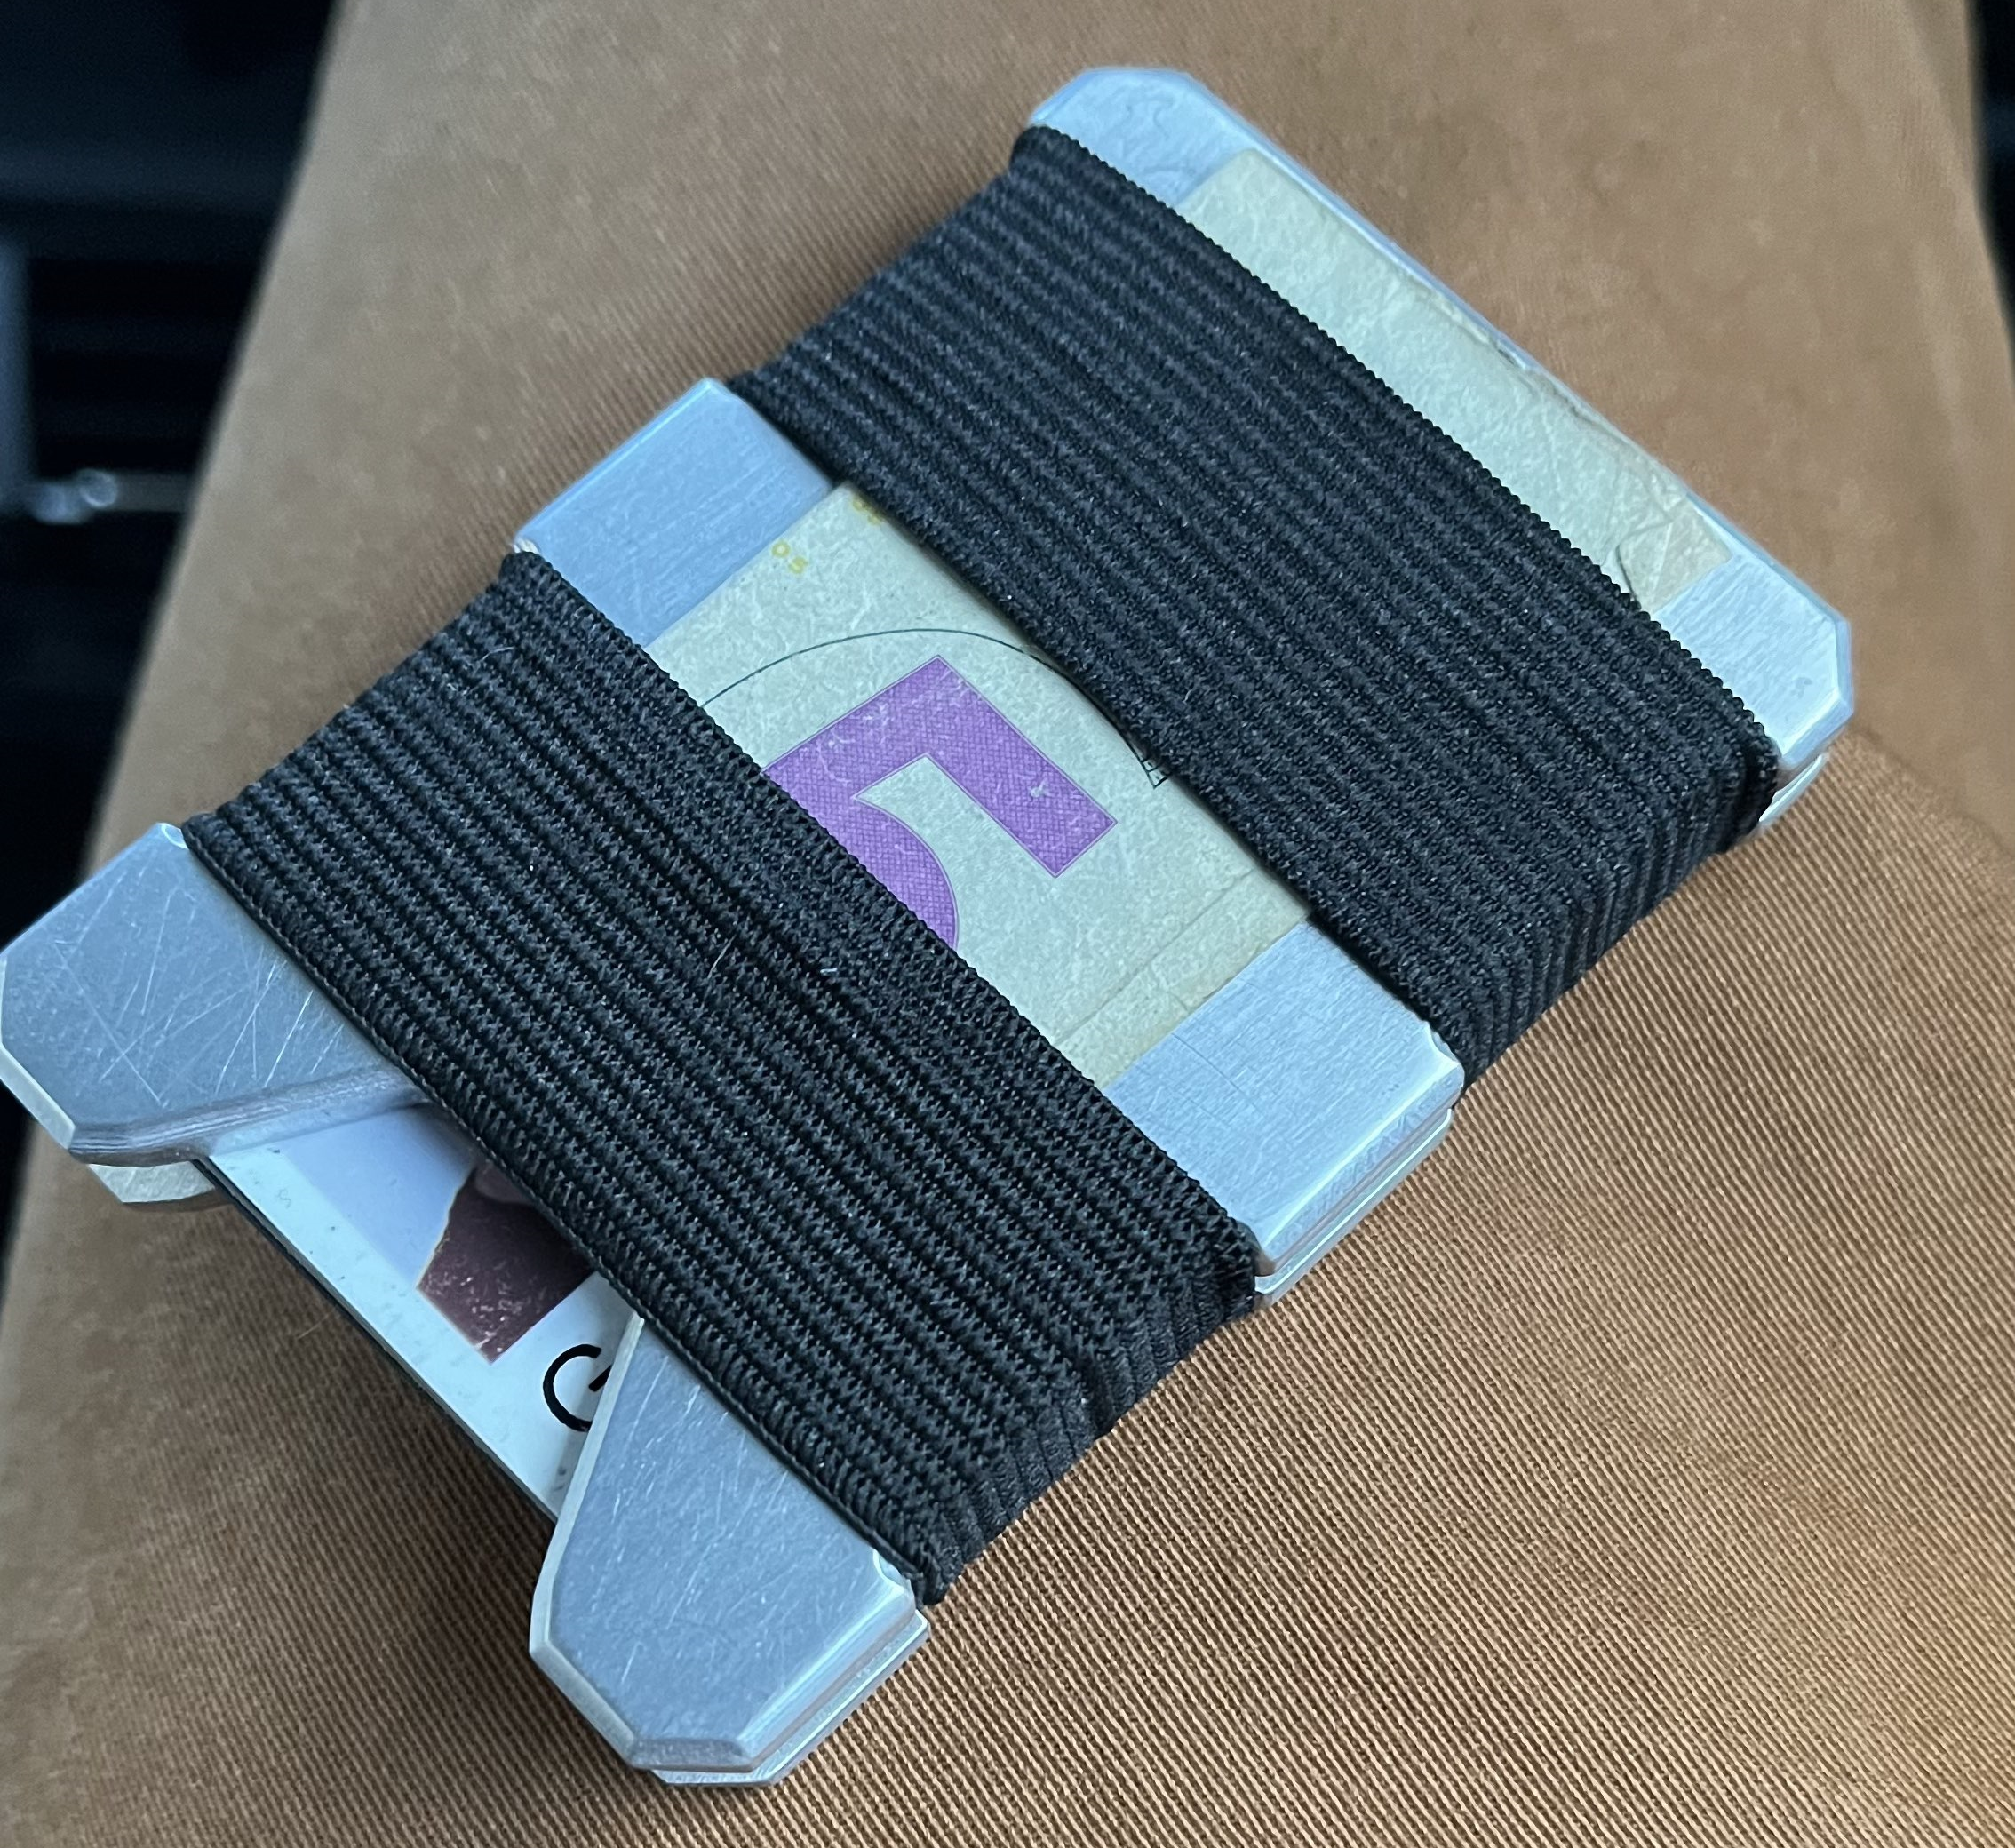
Front side of the wallet with a moneyclip.
