I love 3D printing, but it has some drawbacks.
For example, a few years ago I designed a car mount for my phone and printed it out of PLA. All it took was one sunny day for it to melt beyond recognition. Also, I still haven’t gotten my hands on a reliable way of performing FEA for a 3d printed part. Every printer prints differently and don’t get me started on infill. For these reasons and many more, I have been intersted in casting parts out of hard plastic or resin for a while, and recently decided that it was the right time to give it a shot.

A homemade fume hood that does a surprisingly good job.
It may be the right time to give casting a shot, but I live in an apartment, so it took some work to make the right place happen at the right time. The only logical solution was to make a fume hood.

My window with the air duct in place. I have a plug (seen below) so that I can close it up without having to take everything apart.
The fume hood itself was pretty easy to make, all I needed to do was find a material to make a box that is strong and cheap. The real problem was how to get the fumes out the window without them blowing back in. My solution was to cut a hole in some insulation, mount a 3D printed port-hole on it and squish it underneath my window. I used weatherstripping to stop the air from getting in the cracks, that way I can leave it in all the time. The remaining 7x4ft of insulation solved the problem of what material to use for the rest of the fume hood.

I made sure that the plug's insulation fit snugly with the rest of it. I don't want any cold air slipping in when winter comes.
Since I embedded magnets into my prints, it is extremely easy to swap out the duct and plug. I added a tongue and groove system to my 3D printed port and plug. It discourages lateral motion and completely stops any and all airflow from going where I don’t want it.

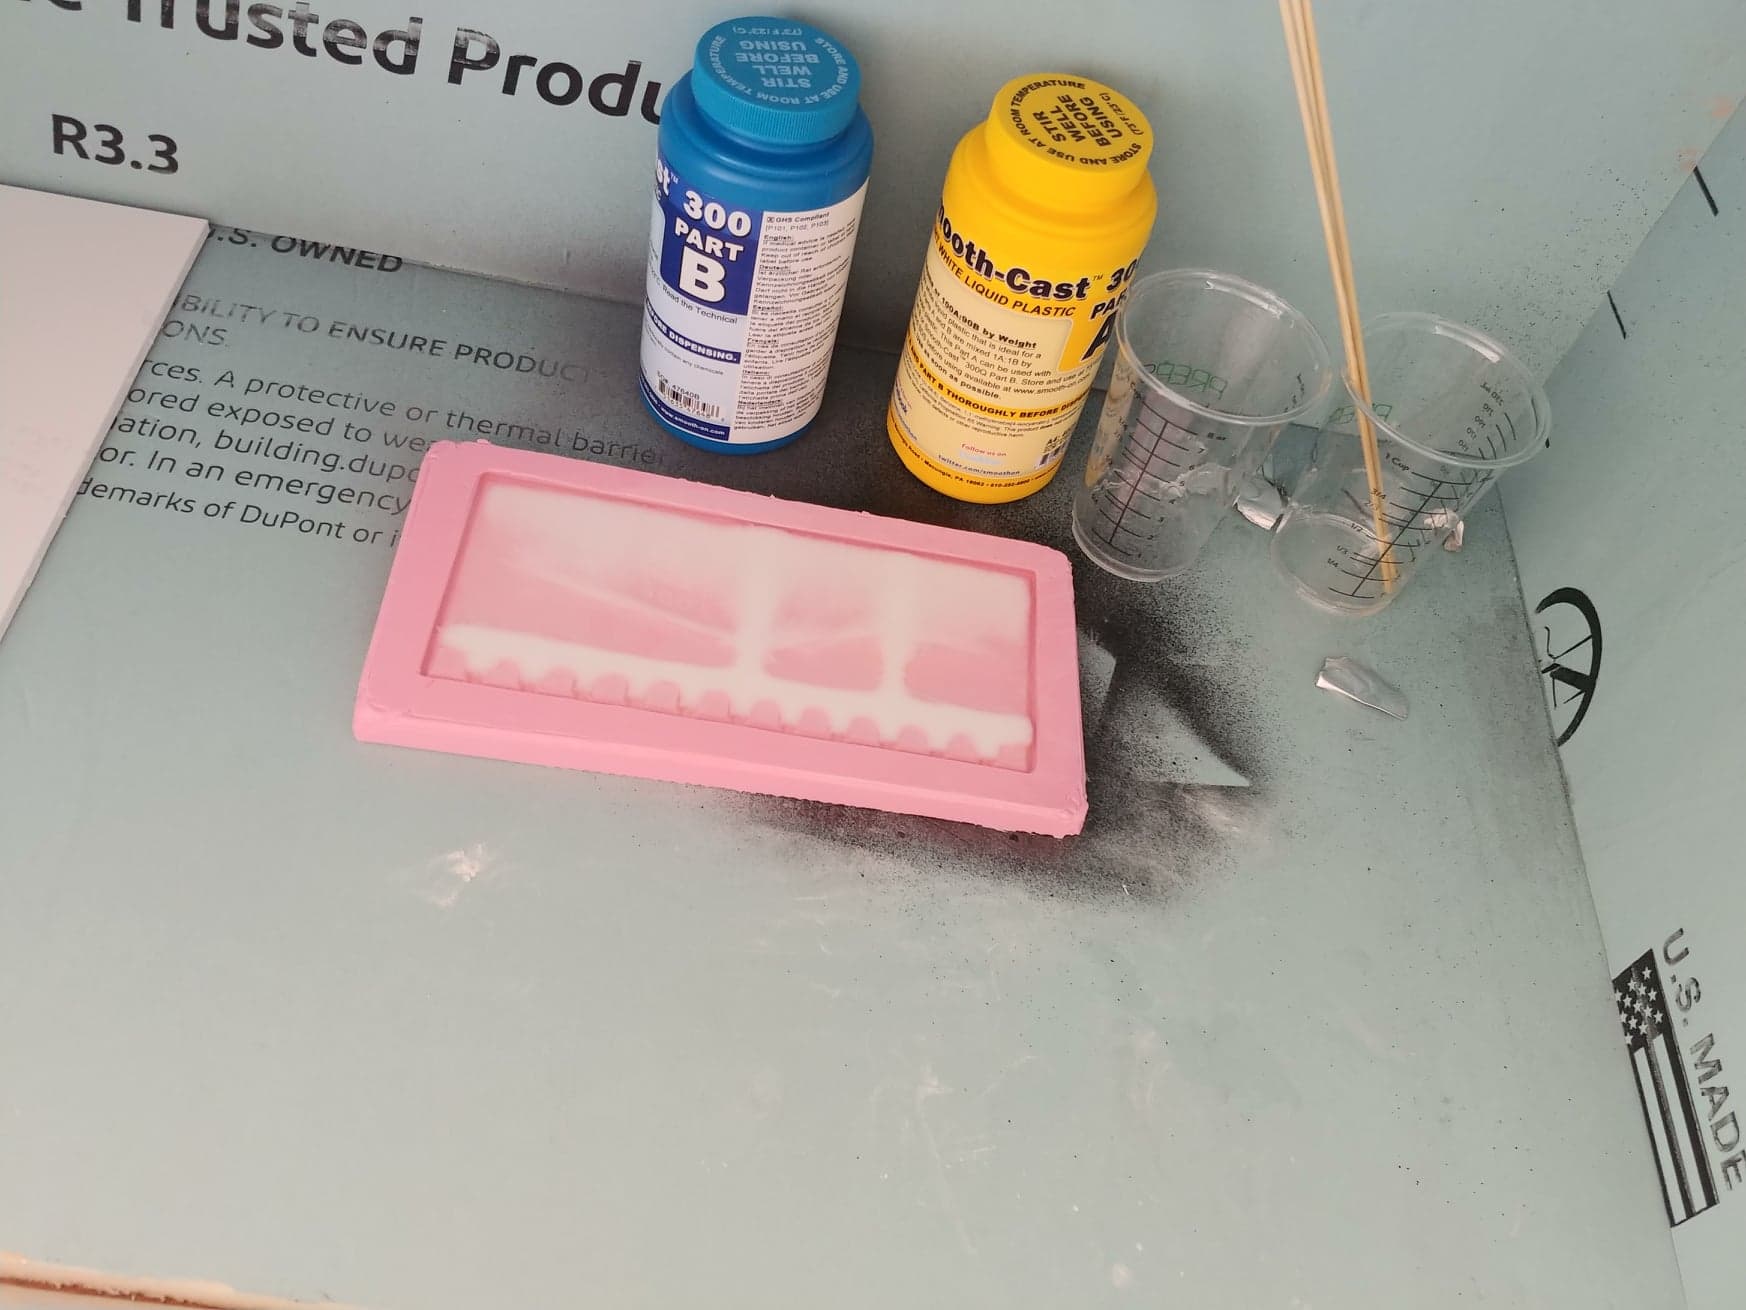
The silicone took 24 hours to cure while the resin only took 10 minutes.
Now that the fume hood was settled, it was time to start casting! The first thing I tried was a pallet for painting. It was small and easy to model and was an excellent first project. I 3D printed my original piece, sanded it for felt like an hour and then covered it in silicone. The next day, I popped the original out and poured in the resin. It went from clear to completely opaque in about 10 minutes which blew my mind.

I was really happy with how the part turned out, however...
Unfortunately, this pallet doesn’t work. The paint sticks to it and I believe that it is because I didn’t sand it smooth enough. After a quick purchase on Amazon, I didn’t need to make a pallet anymore. All in all, I was pretty happy with this as a first test. The molds worked properly and I didn’t pass out from the fumes. However, the silicone I used to mold my pallet was more expensive than anything else in my process and I wanted to get something useful out of this experiment so I thought up another project.
See, my thumbnail wasn’t clickbait.
It is recommended to use silicone when casting resin, but I have a lot of PLA and nobody explicitly told me not to 3D print a mold. Also, I did look into it, and silicone is recommended because of its flexibility. Since I know how to model for casting, I gave it a shot and made a 3-part mold for a stylus holder.

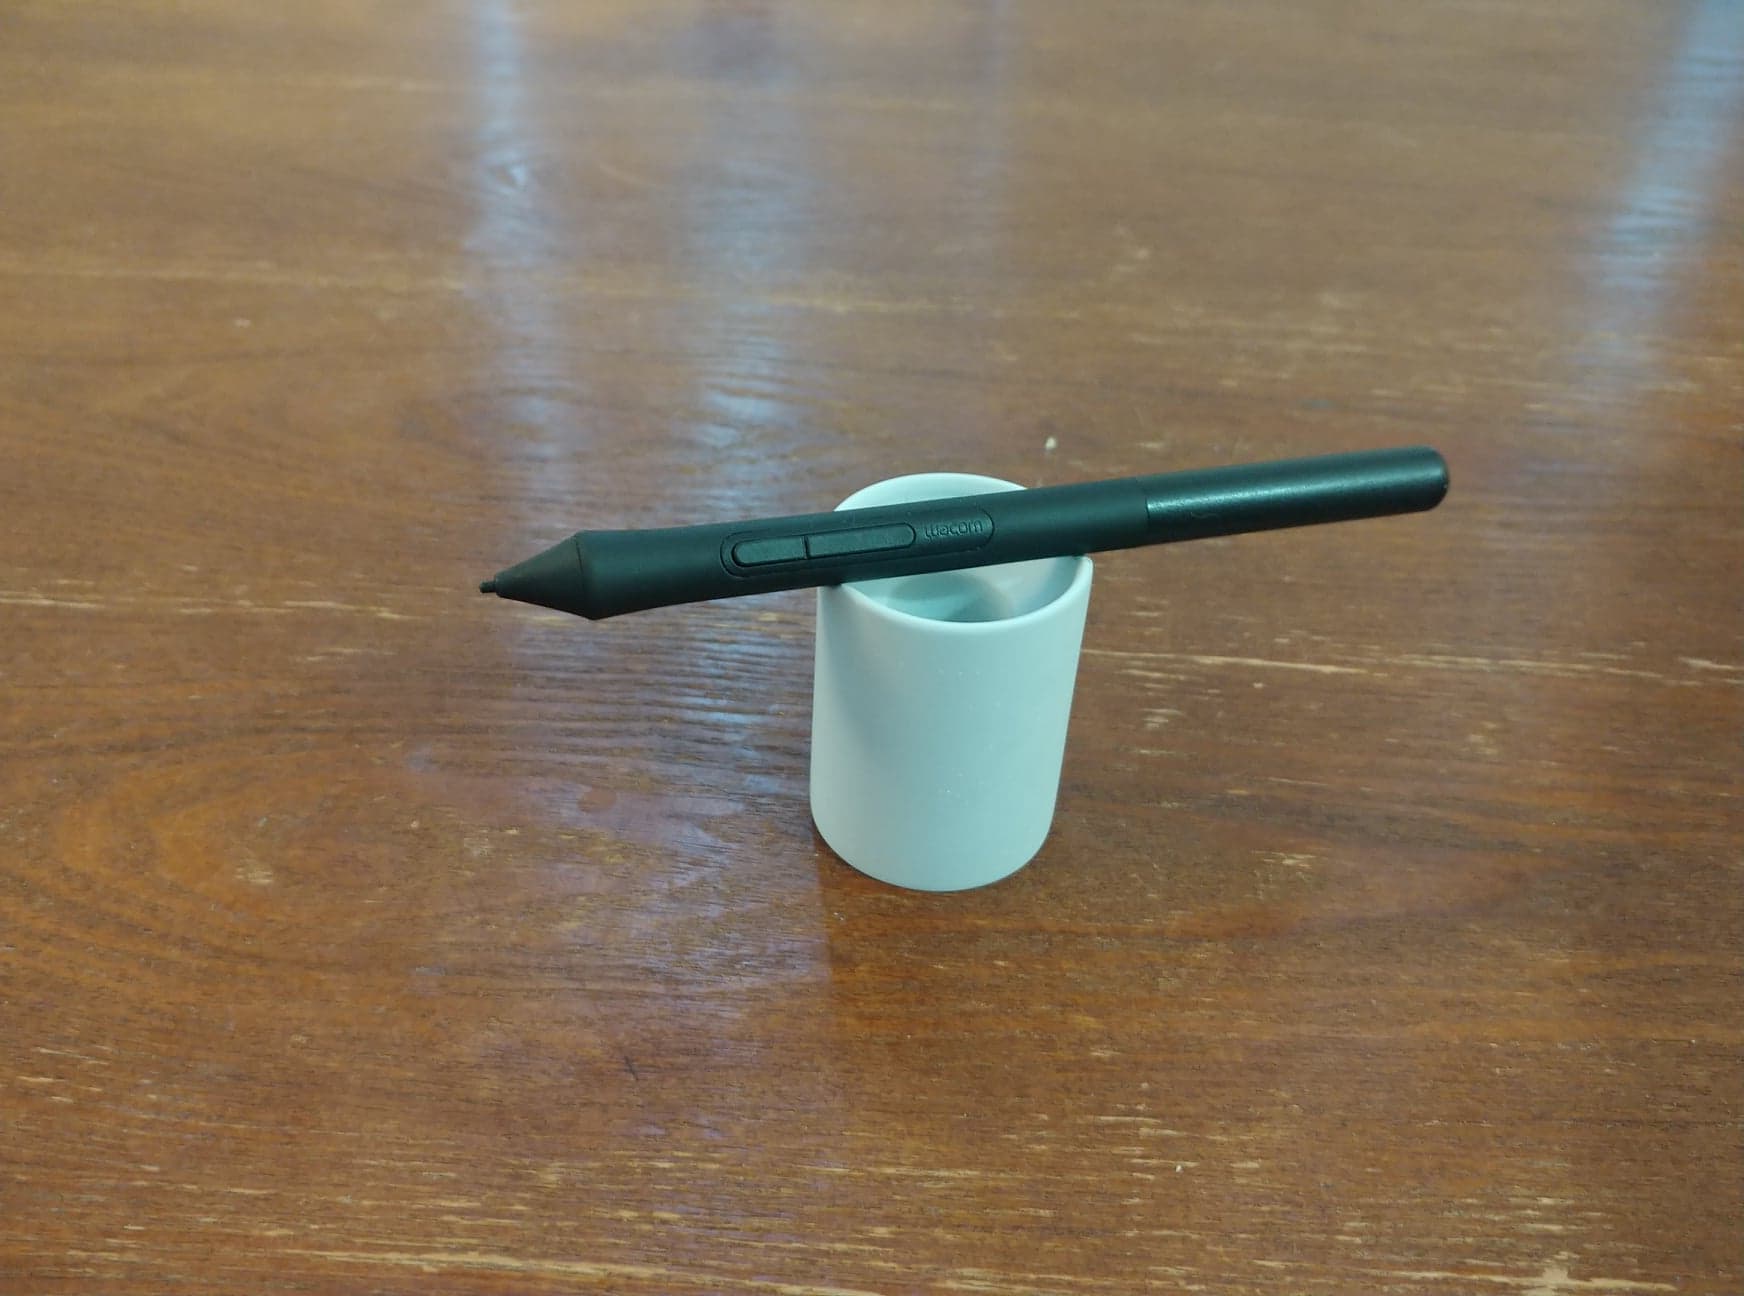
The stylus holder after I sanded it. It is easier to sand the resin than a 3D printed part.
And I have to say, except for the mold melting, it worked better than I expected. I knew that urethane cures with an exothermic reaction, but I didn’t expect it to get hot enough to melt my mold. Fortunately, the end product was fine, but I definitely can’t use a 3D printed mold to mass-produce stylus holders.
Darn.

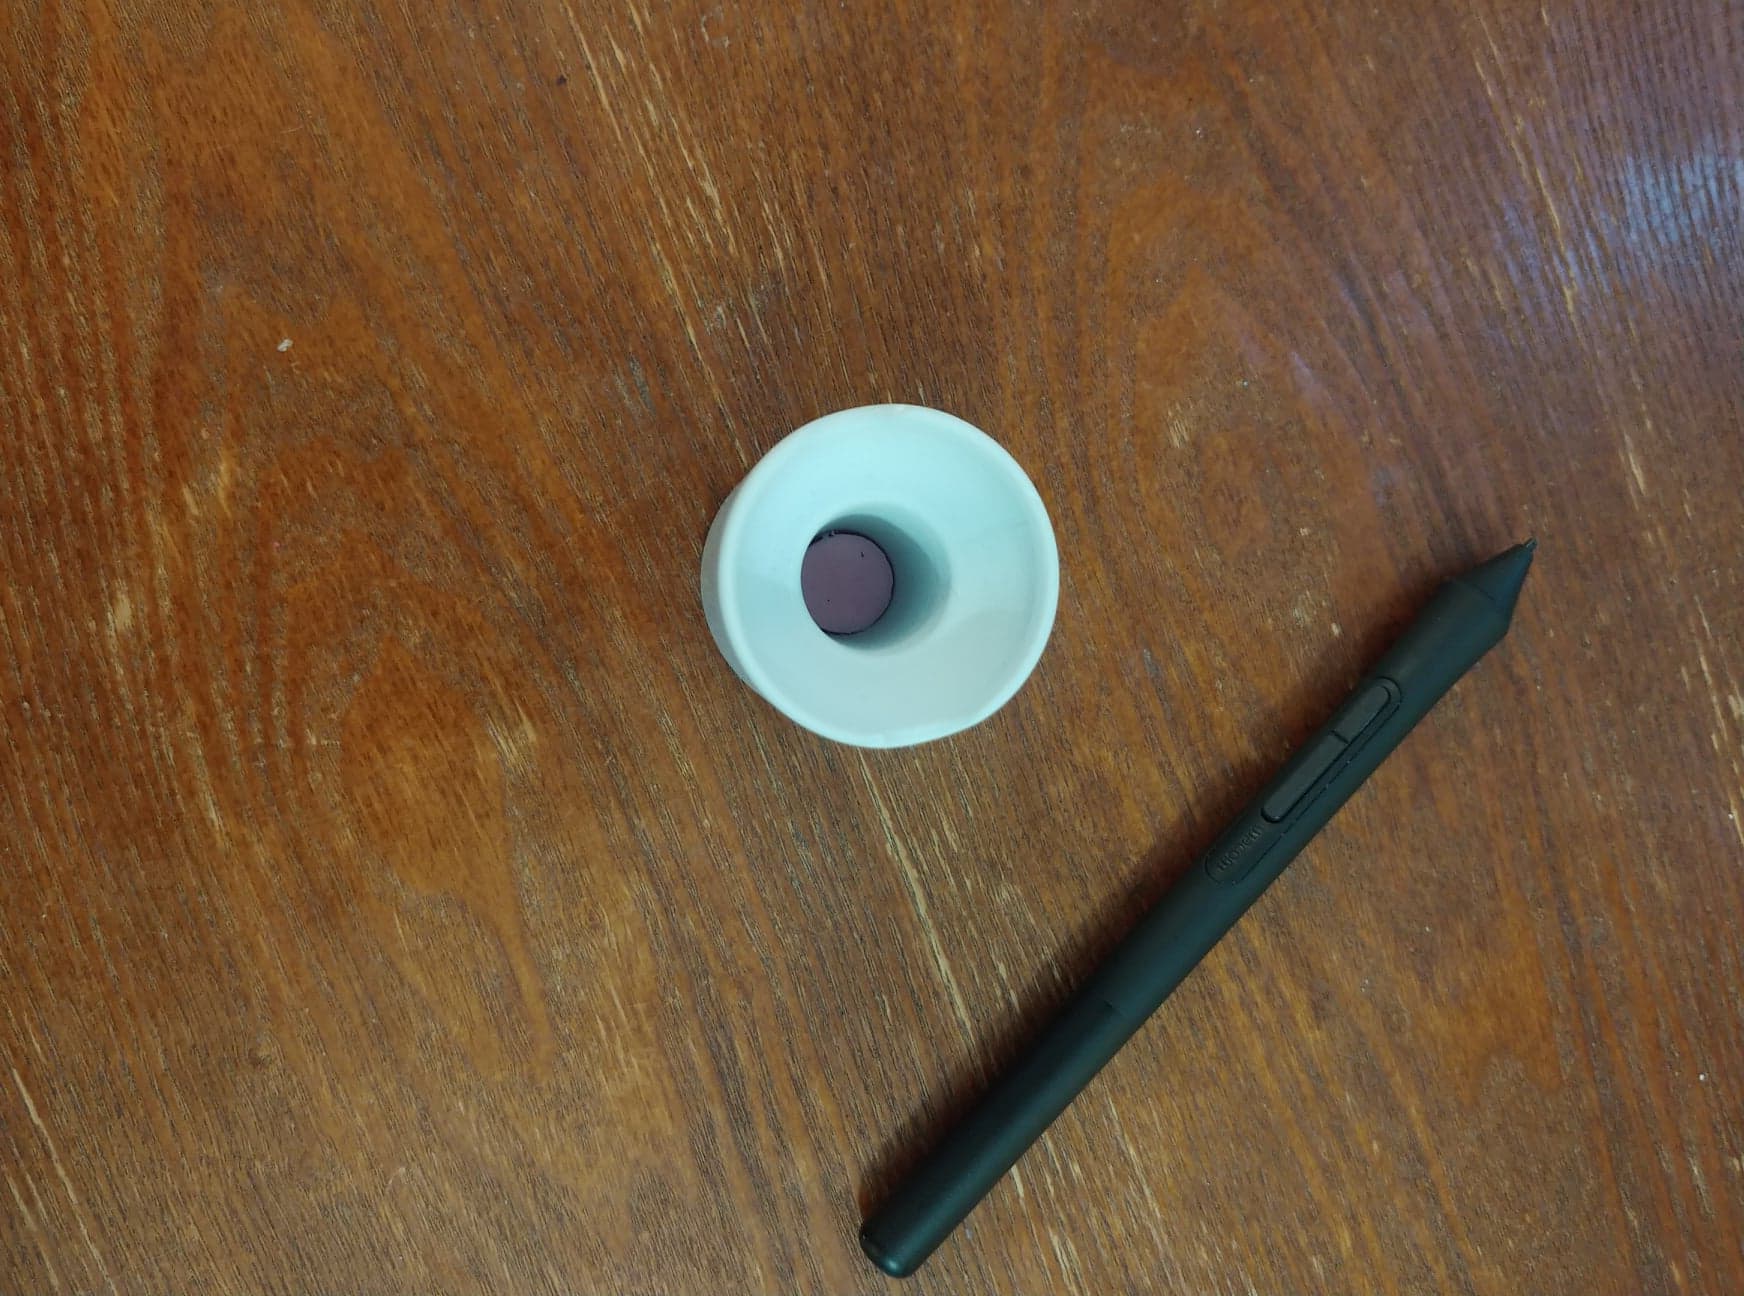
Aside from functionality, I kind of like the way the silicone looks against the light grey of the stylus.
I had a little silicone left, so I put it in the bottom to stop my pen from smashing when I drop it in. Although I still have to be careful: if I drop it too hard it’ll just bounce out.

Finished and ready for my desk.
All things considered, I am very happy with how things turned out and can’t wait to cast more of my projects!
Special thanks to An for not asking too many questions when the dining table was covered by the fume hood and we had to eat at our desks.