I saw a cool table.
It was 3D printed and suspended by it's own weight.
The "Impossible Table"
I thought that this was a really cool concept and wanted to put my own spin on it. I knew that if I looked, I would find tons of other people's takes on this idea, so I made the decision: No Google. Well, not all of google, just no googling around for creative inspiration. I was hoping that this would leave my relatively "un-tainted" so there would be a chance that I could stumble upon a completely original idea.
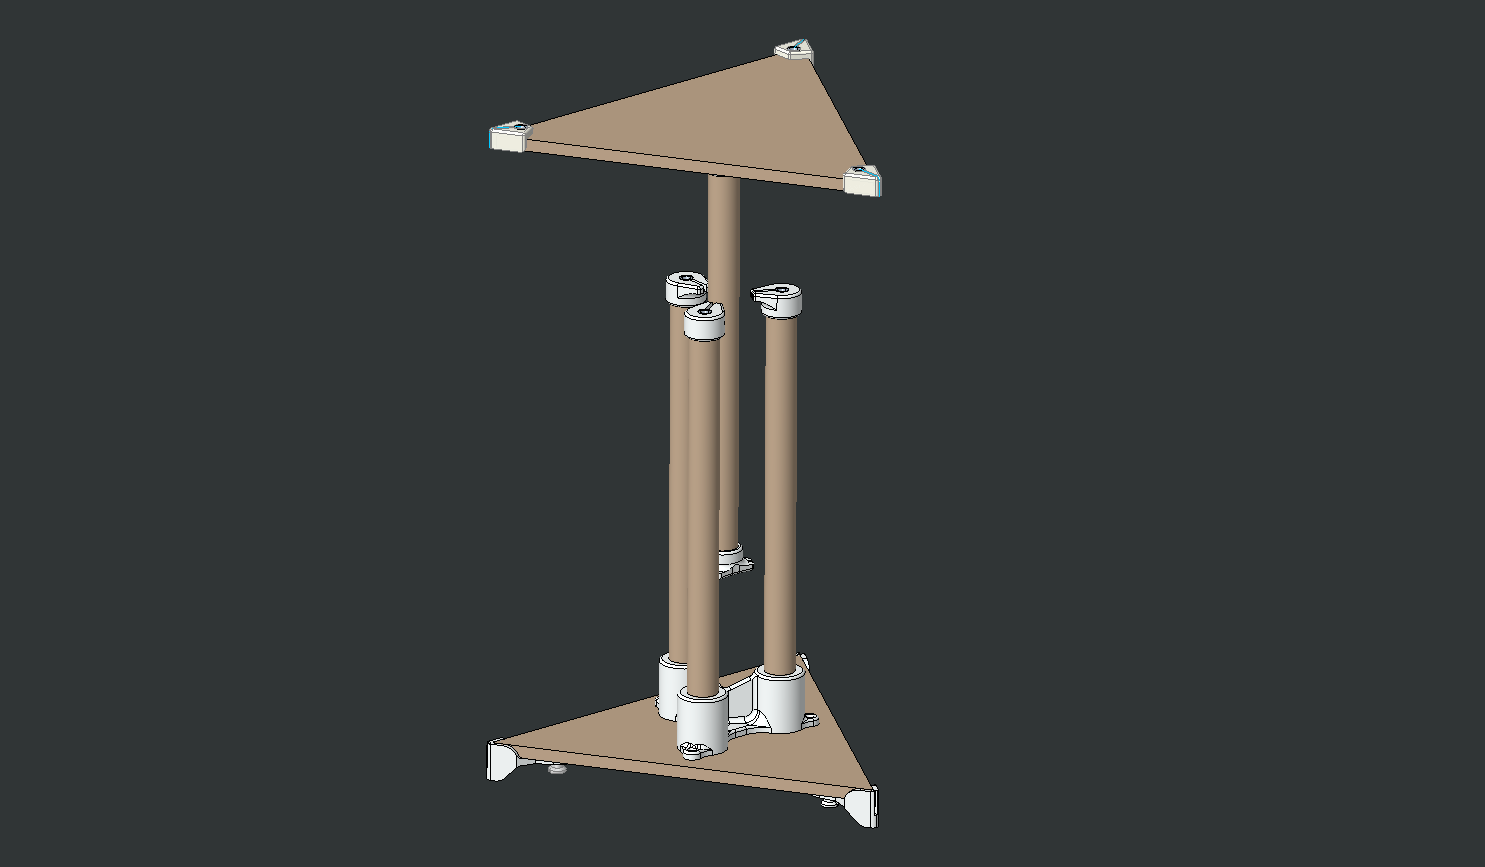
The Creo version of the design I went with.
My first problem was tensioning the wires. With the 3D printed “Impossible Table” it probably wasn’t very difficult for the creaters to tighten the string by hand and tie it off. Unfortunately, that wouldn’t work with a larger table. First, I knew I would have to tighten the strings much tighter. Second, I needed to be able to accurately tighten the strings, so the tabletop was level. Finally, the strings I was working with tend to creep over time, so I need it to be easy to adjust the tension after the table is fully assembled.
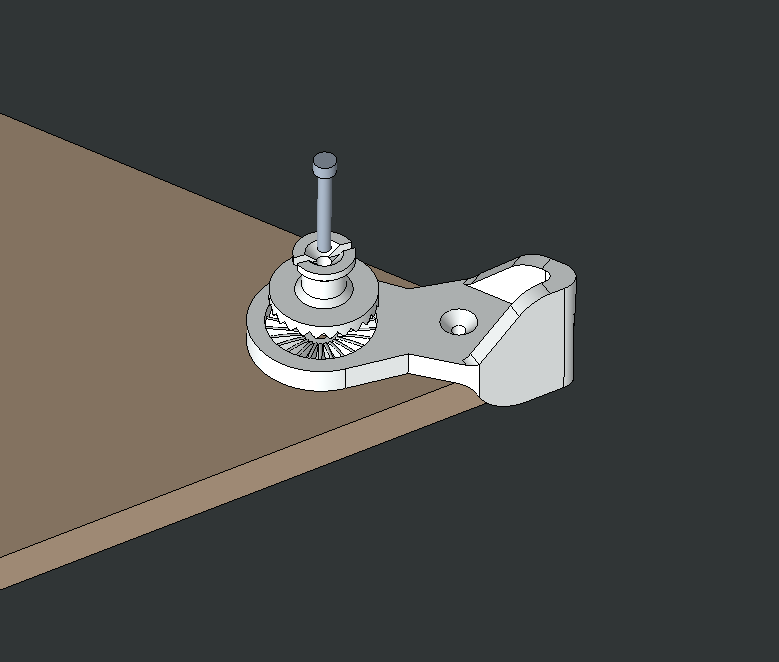
Cad model of the tensioner.
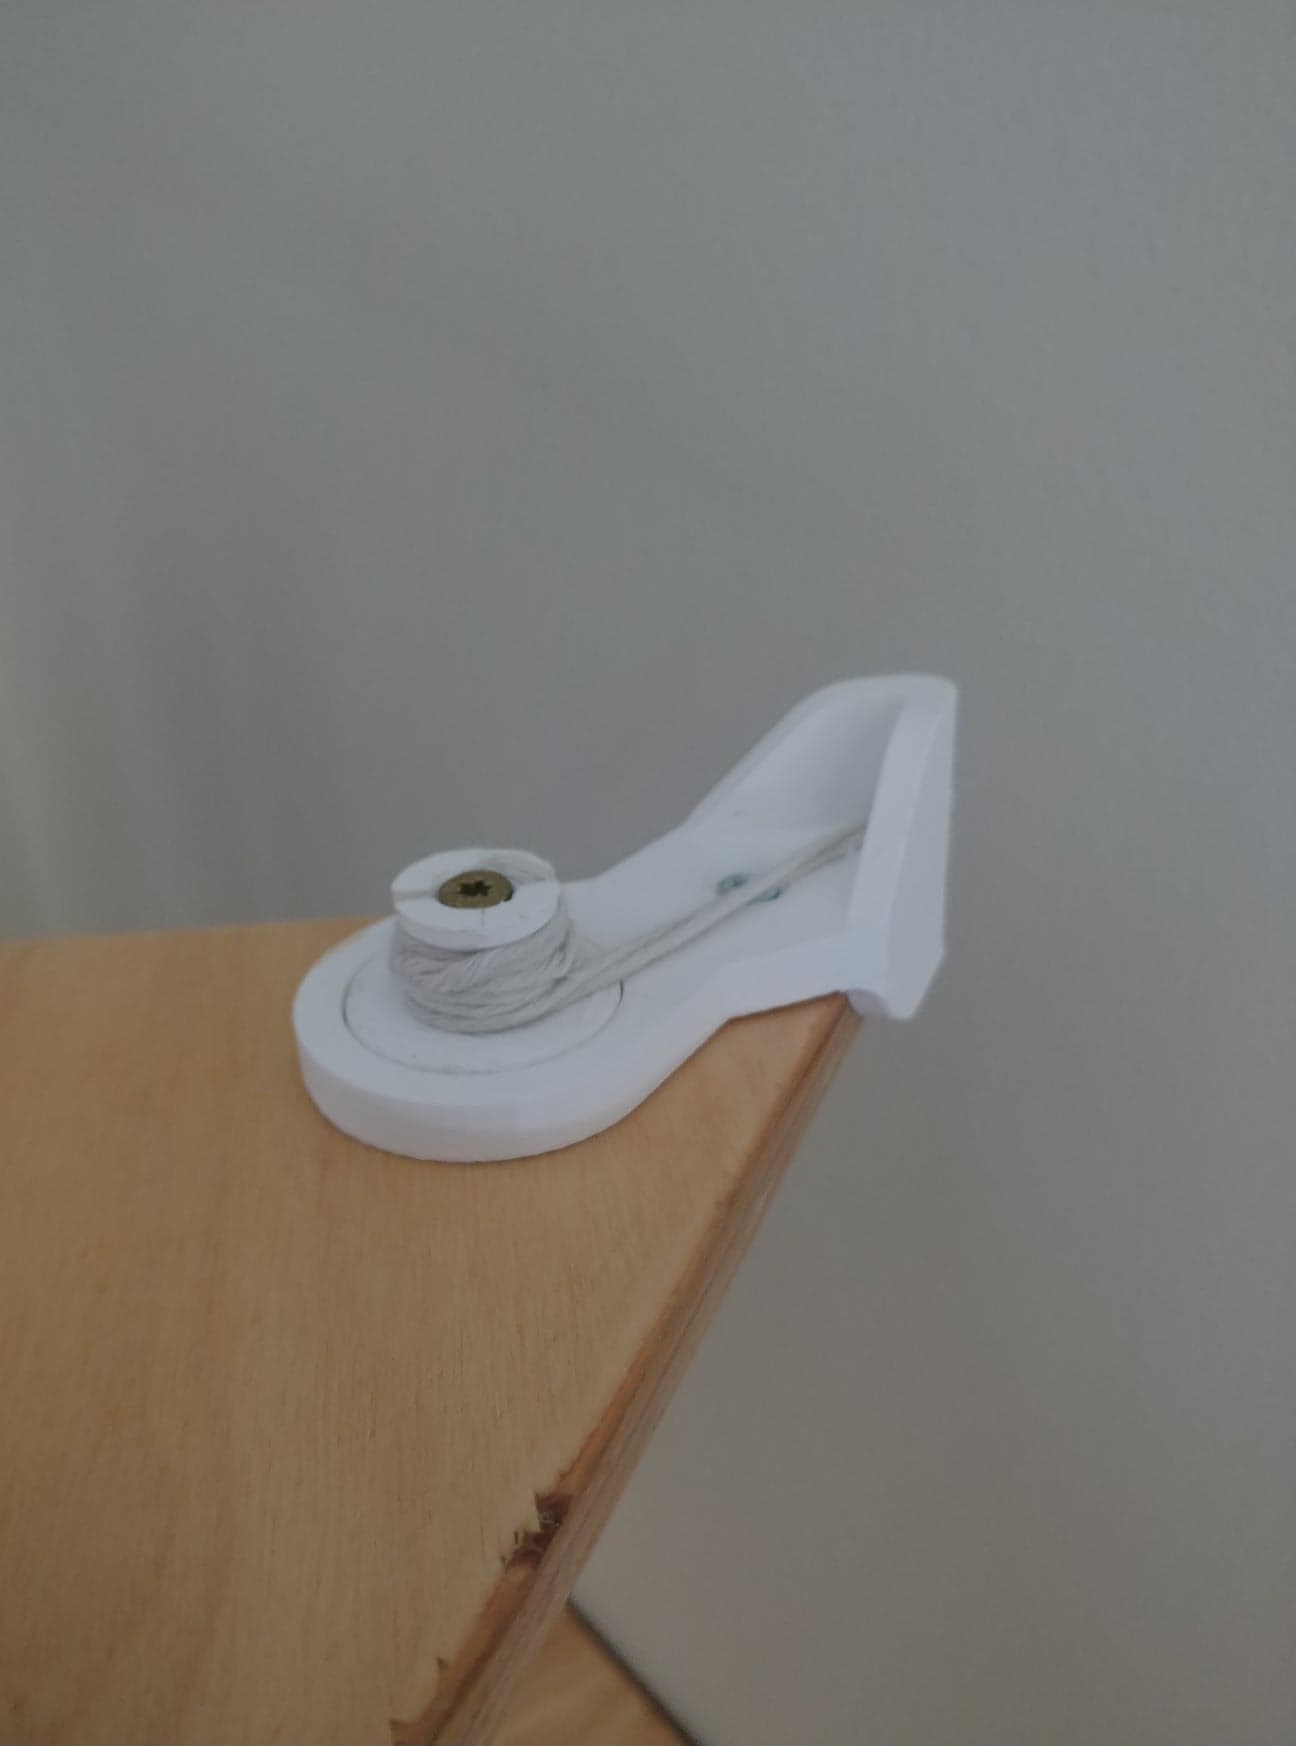
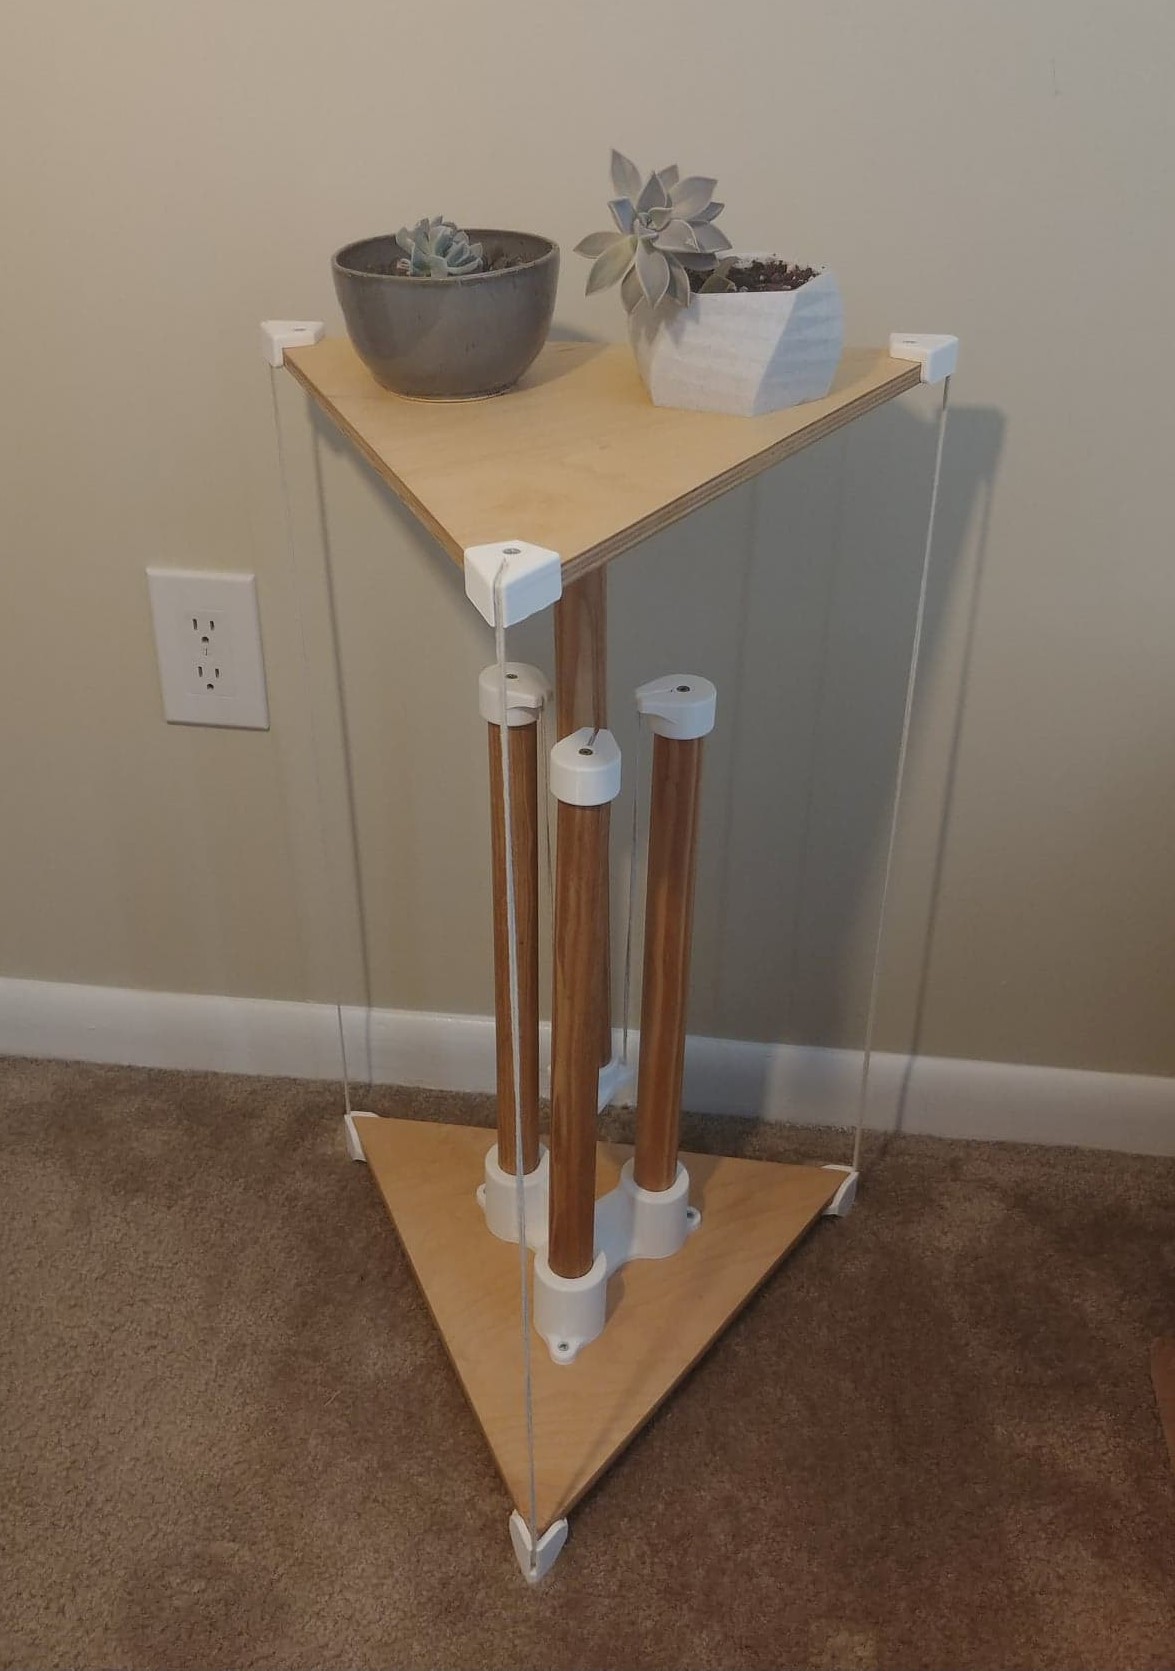
This is a photo of the tensioner fully assembled and doing its job.
I came up with a design for the foot of the table that would both look good and provide the functionality I needed. All you need to do is loosen the screw in the center of the spindle, and it will be able to rotate. Then, all you need to do is rotate the spindle until the string is at its desired tension. If I was doing this again, I would probably tweak this design so that you don’t need to use any tools at all to adjust the tension, but it works well enough as is.
The next step in my process was to render the part to get a better idea of how it looks. I still wasn’t sure if I liked the design and it’s never a bad thing to have a few renders sitting around. Also, it really doesn’t take long to make a rendering with blender.
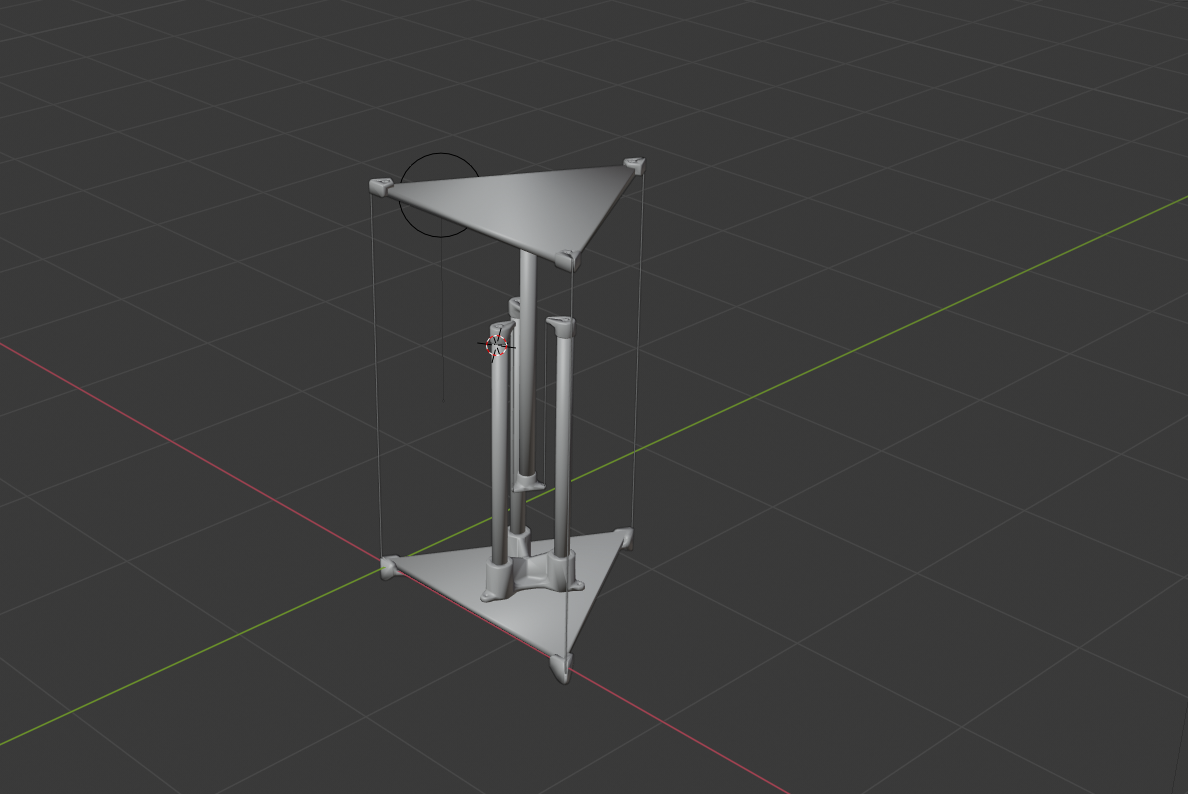
Model without texturing or lighting.
I haven’t gone over my process in blender before, so I thought it would be interesting to do it here. First, export the part from CAD as a STL file and import it into Blender. When it comes into blender, it has no color or texture data, so it is a dull, flat grey.
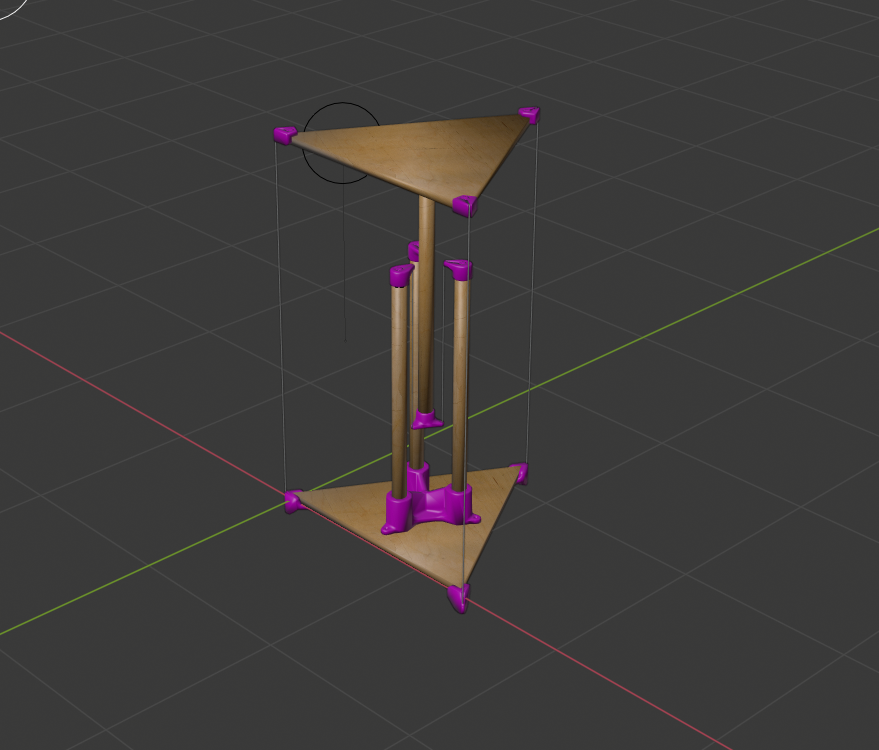
Model with some texturing or lighting.
After the part is imported, it needs textures and colors assigned to each part. At this stage, I found it is useful to group all of the parts that are the same material. That way when you create the texture, it is applied to all of them at once. In the image above, I haven’t set their real color yet but I wanted to make sure I didn’t forget them, so I quickly make them purple.
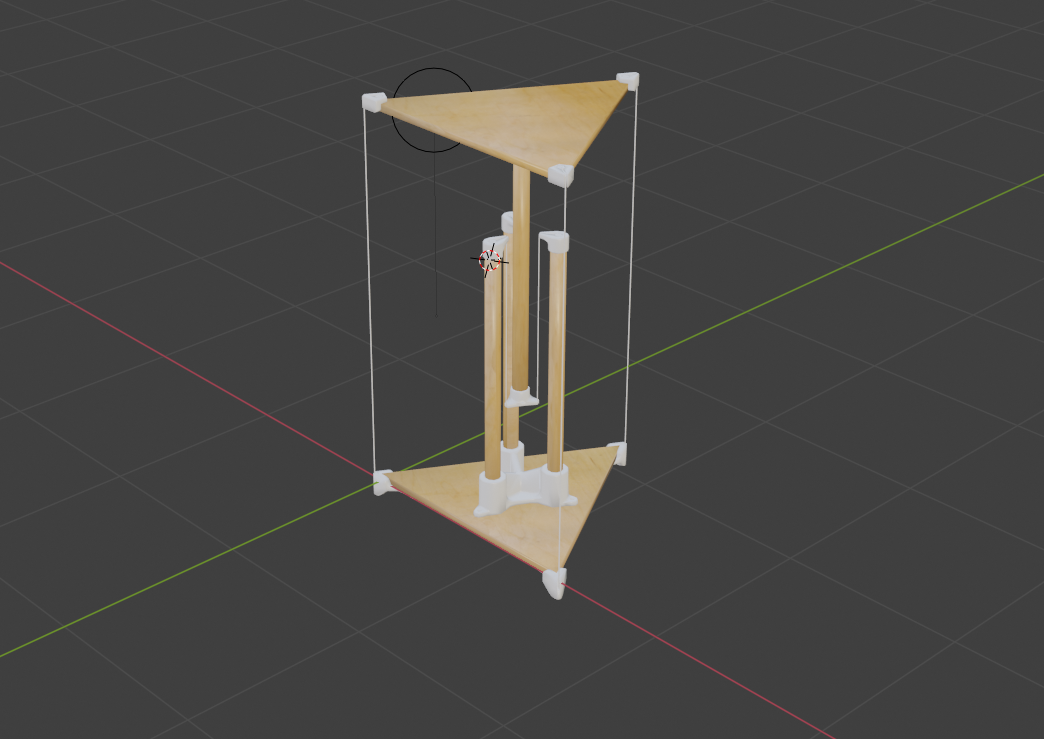
Fully textured table.
After the colors and textures are created and assigned, it is time for lighting. Once the lights are positioned and colored properly, the scene is set for rendering. After the first render, it is likely that the colors and lighting will need to be tweaked until the rendering is at an acceptable quality.
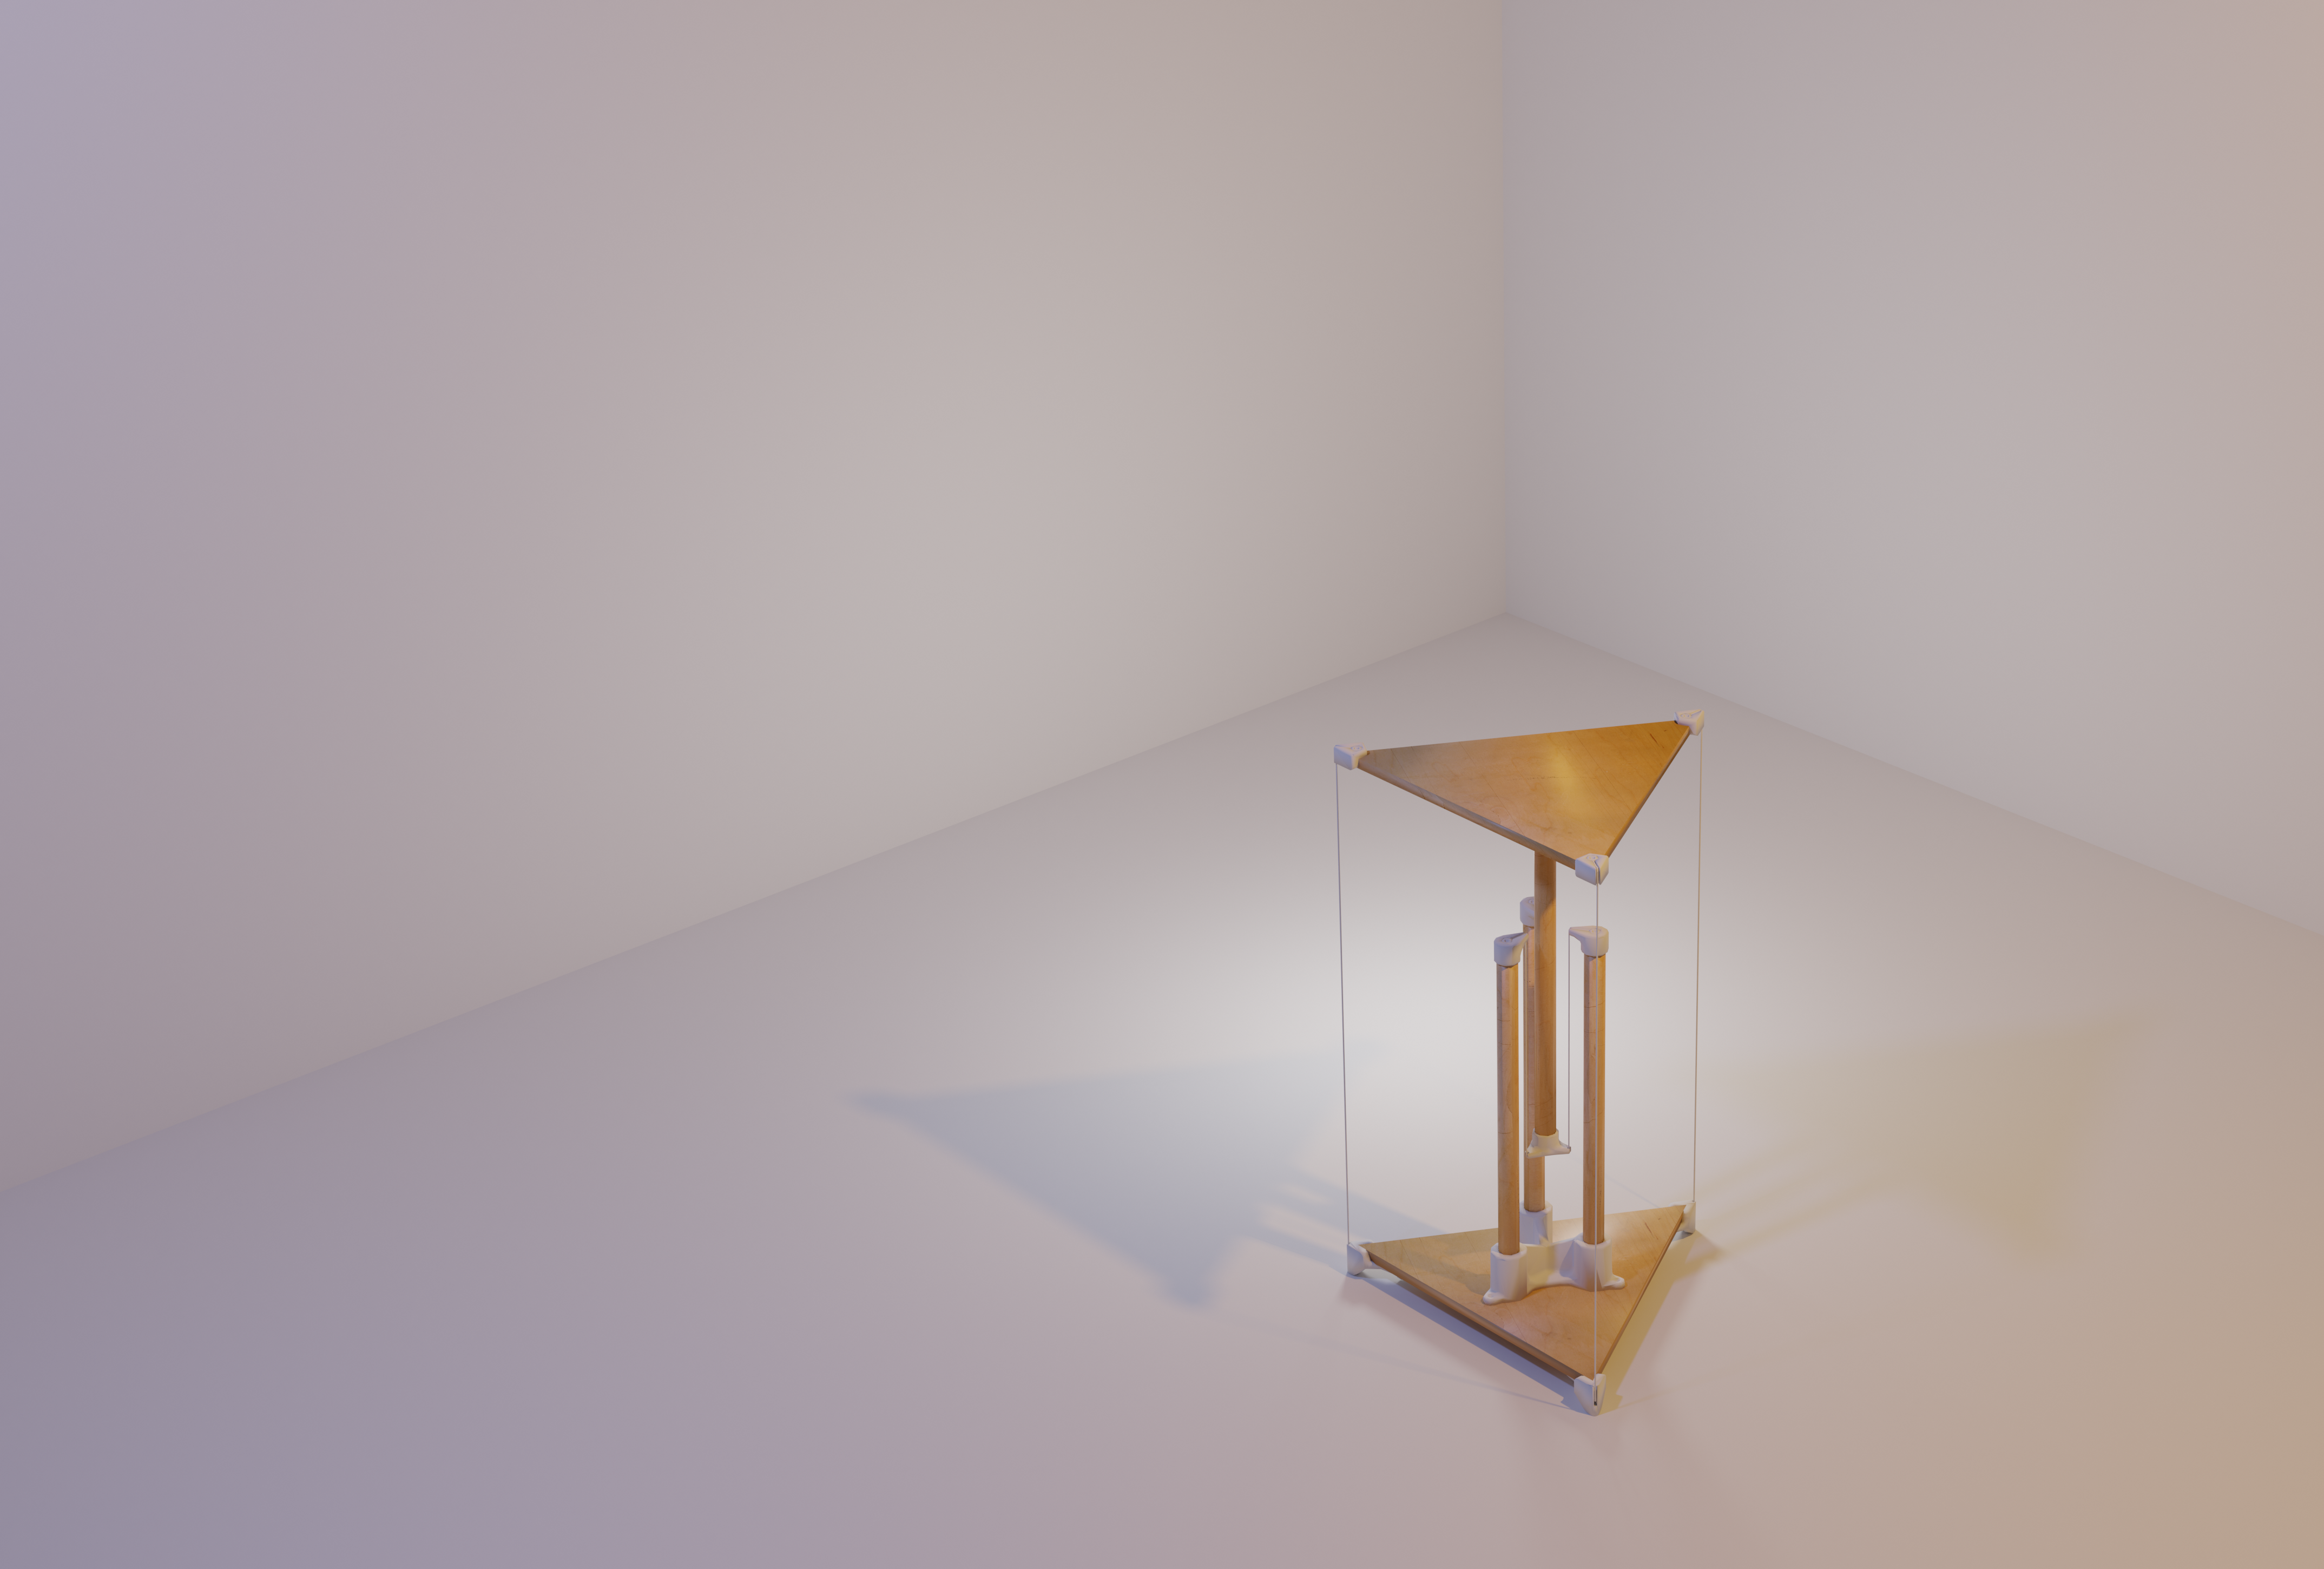
The final rendering.
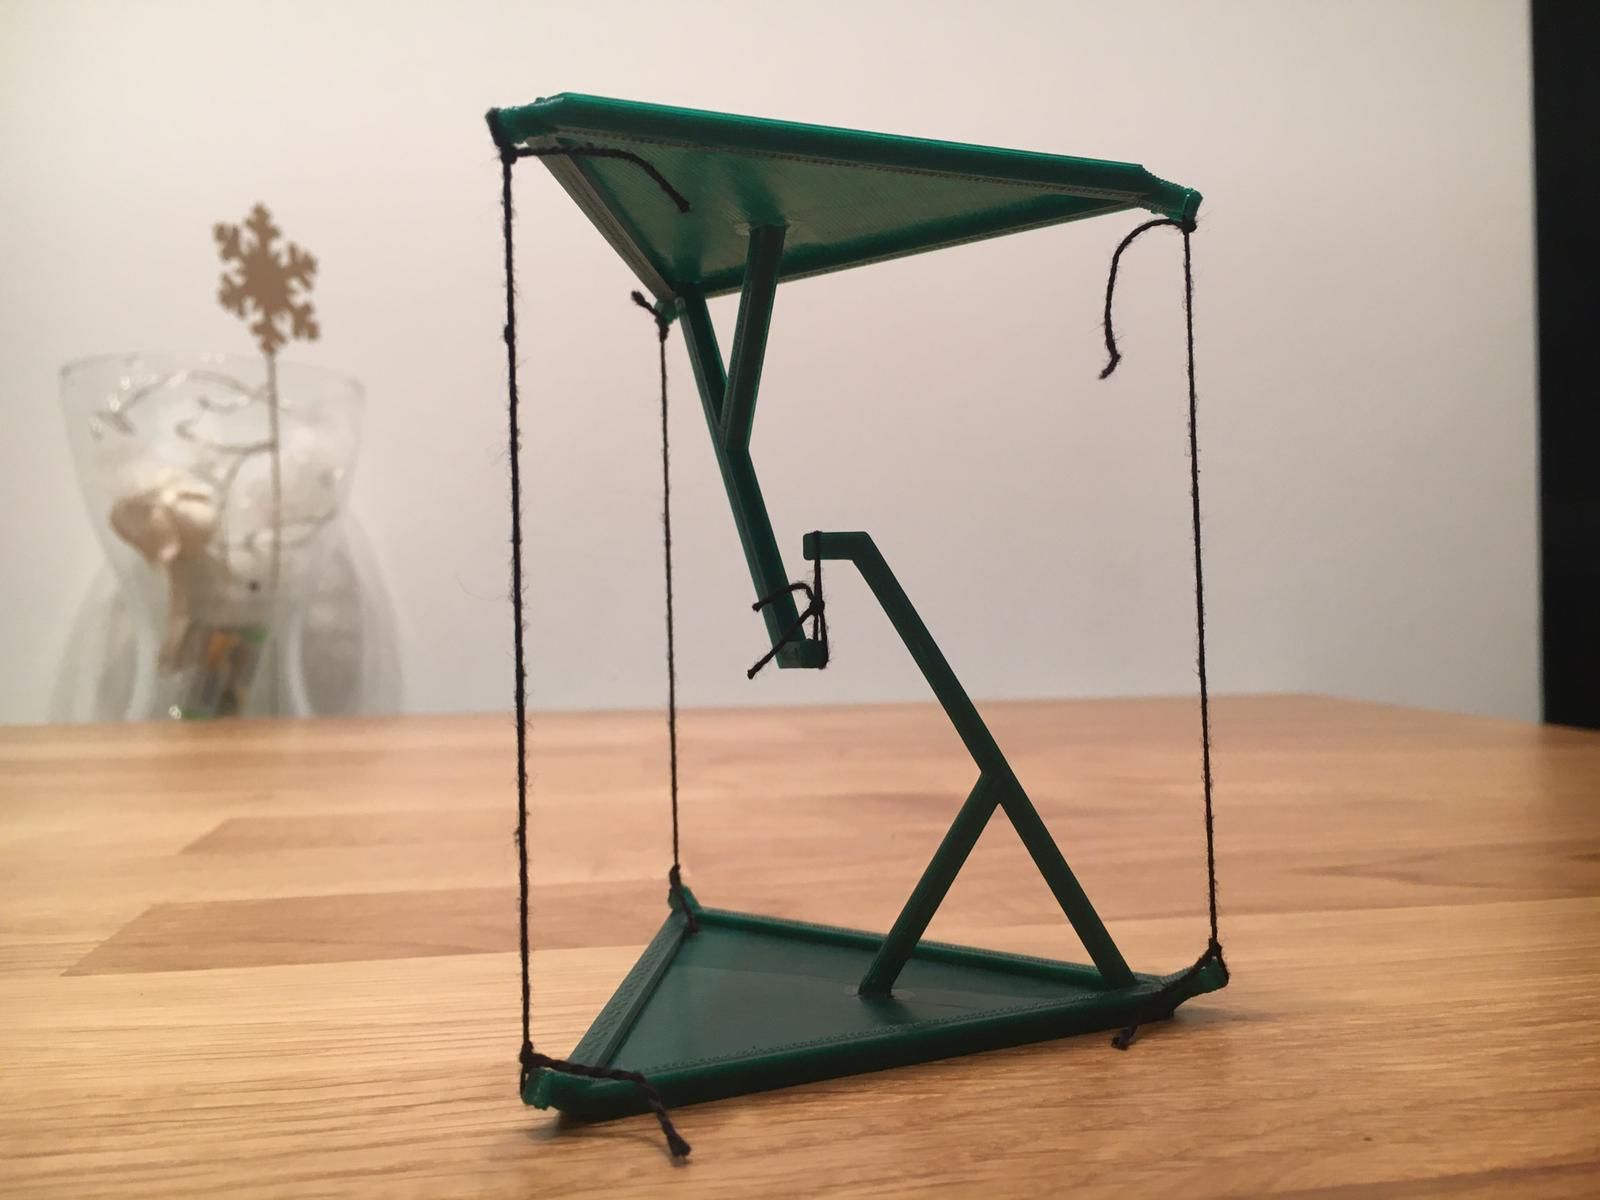
With the render looking pretty good, I went ahead and made the table. I don't have any pictures from the process, so you will have to use your imagination. Since most of my joinery was 3D printed, the process was suprisingly easy but did take a few days for all of the prints to finish.
The final product. Coming soon to a store near you!
A special thanks to my dad for being patient with me when I "surprise borrowed" all of his tools and gave most of them back.