I decided to make a website.
I am barely literate with html, css and JS, but I had a secret weapon: the internet. Also, I have a friend who is an incredible web developer. Although, he probably doen't want any credit for helping me learn how to do this. Or be mentioned anywhere on any website I create...
The original idea and layout of my site.
Originally, the idea behind my site was completely different. I liked this picture and though it would be a good starting point for my design. It made a decent first page, but I didn’t like where it led me when I was trying to come up with ideas for the other pages. Ie: I had no ideas for the other pages.
I decided that I would redo my site and move away from having a single image as my background. It didn’t scale well and I ended up having to jump through a lot of hoops in order to get something I was ok with. Instead, I decided I should put a model of my 3d printer (CR10) on the first page, but not use it as the background. I am a big fan of 3d printing, and I wanted to use this page to show off my 3D modeling talent.
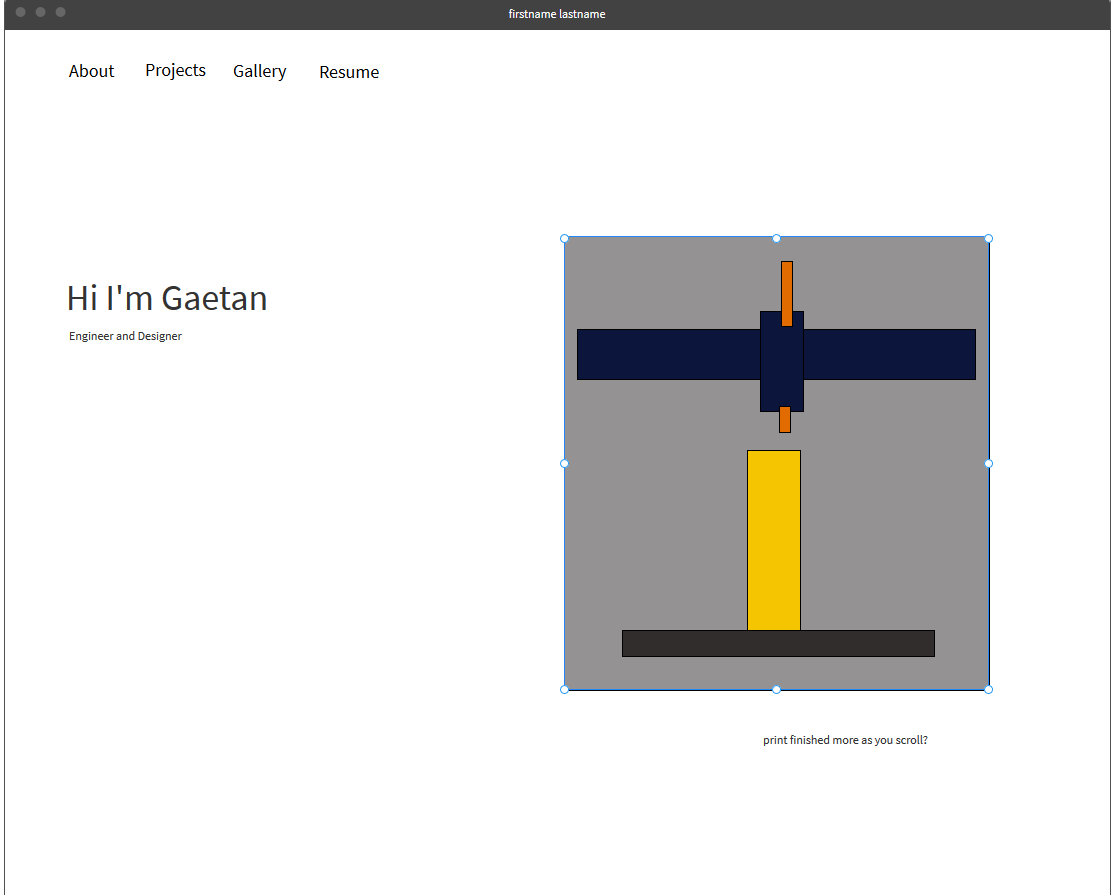
Blocking out the spacing of my home page. The printer was originally going to be animated.
Fun fact: In an earlier draft of my site, the printer would move across the screen and “print” if you scrolled up or down. This was achieved with a few dozen clever div elements and way too much time. I ended up scrapping the idea because it refused to scale well and quickly became a timesink.
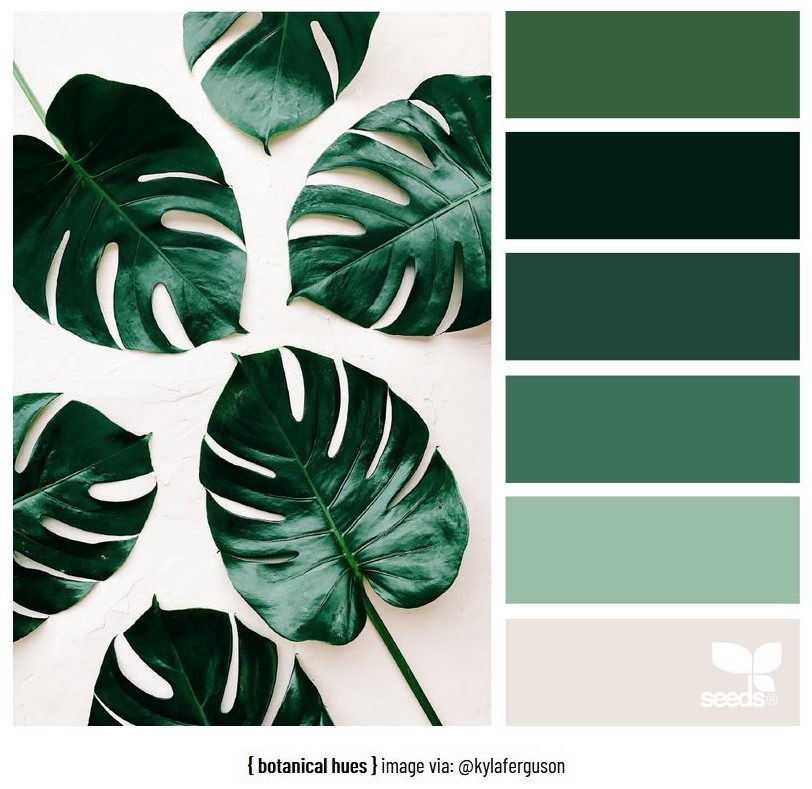
Botanical Hues from design-seeds.com
Now that I had my base geometry down, I needed a color pallet to work with. I am pretty bad with colors, but my friend gave me a few good site recommendations where I eventually found a pallet that fit.
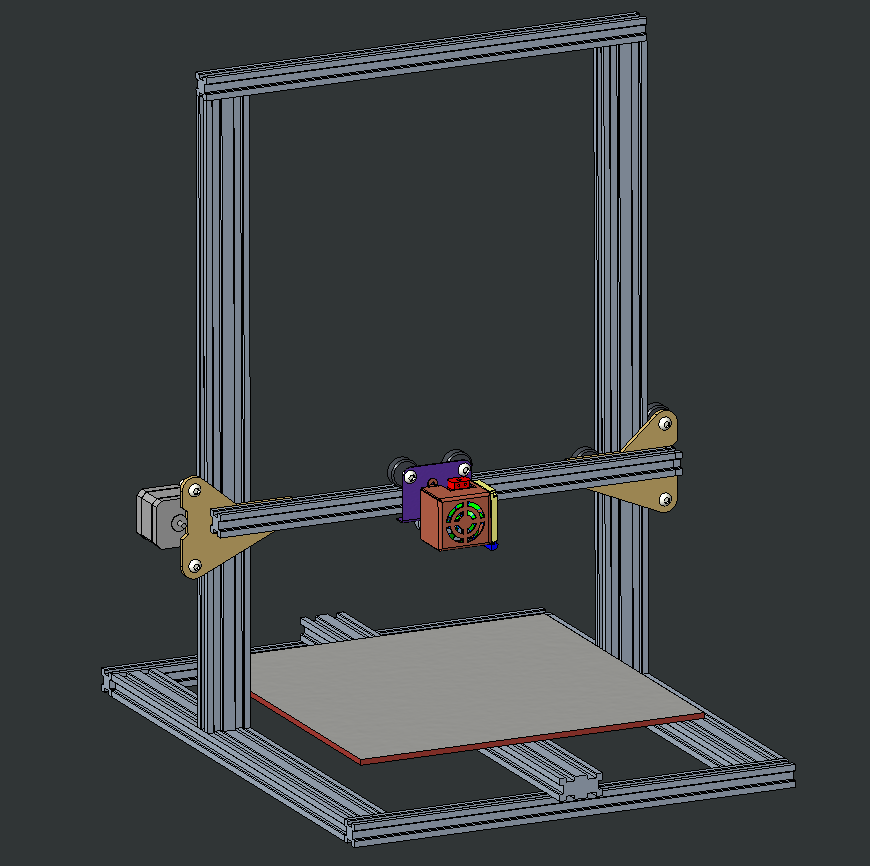
CAD model of my 3D printer
I actually modeled most of my printer before I decided to only use the head of it for my “logo”. I was in the process of designing an enclosure for my printer and I used this model for accurately measuring clearances, so the extra work didn't go to waste.
Now, all I had to do was export it Blender and set it up for rendering.
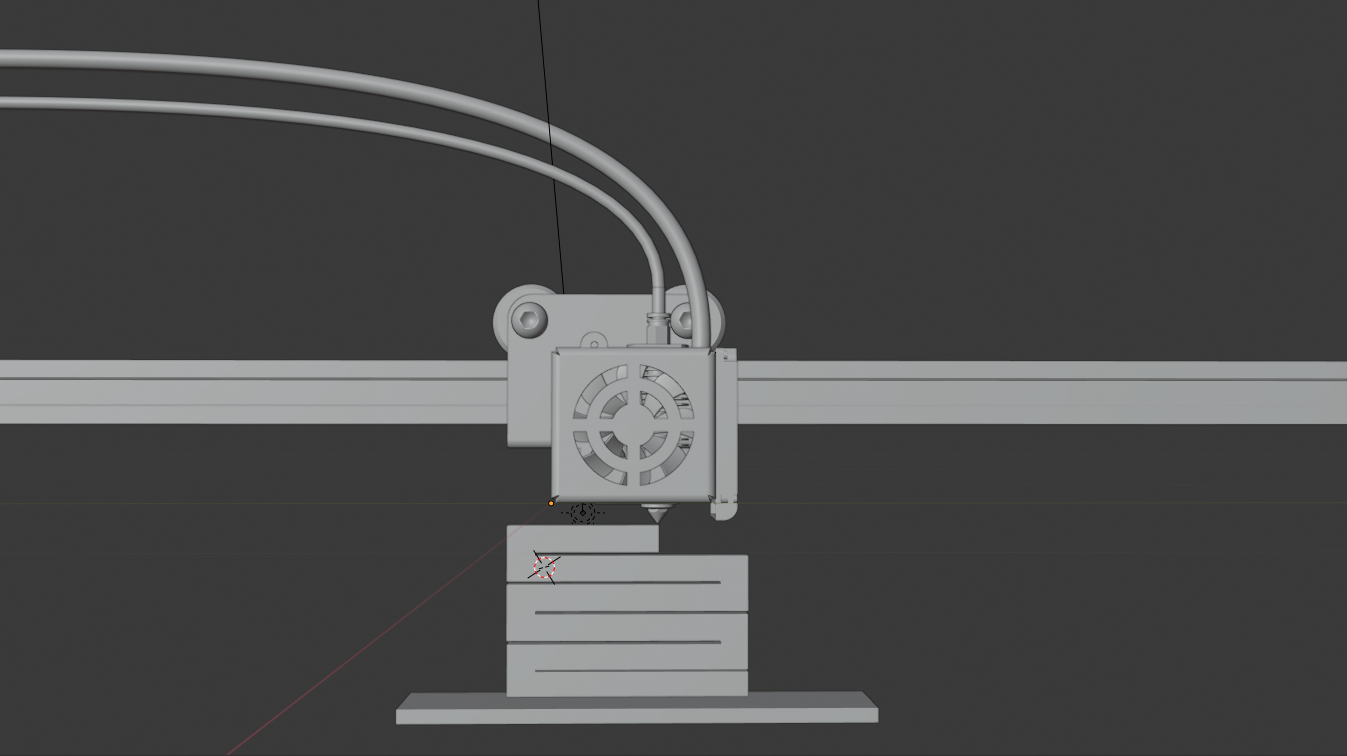
An untextured version of my final logo.
With that finished, I put the assets into my site, and it really started to come together. After finishing the first page, I realized that I had too much empty space, so I rendered some of my other projects and put them in to fill the space and give the viewer a better idea of who I am.
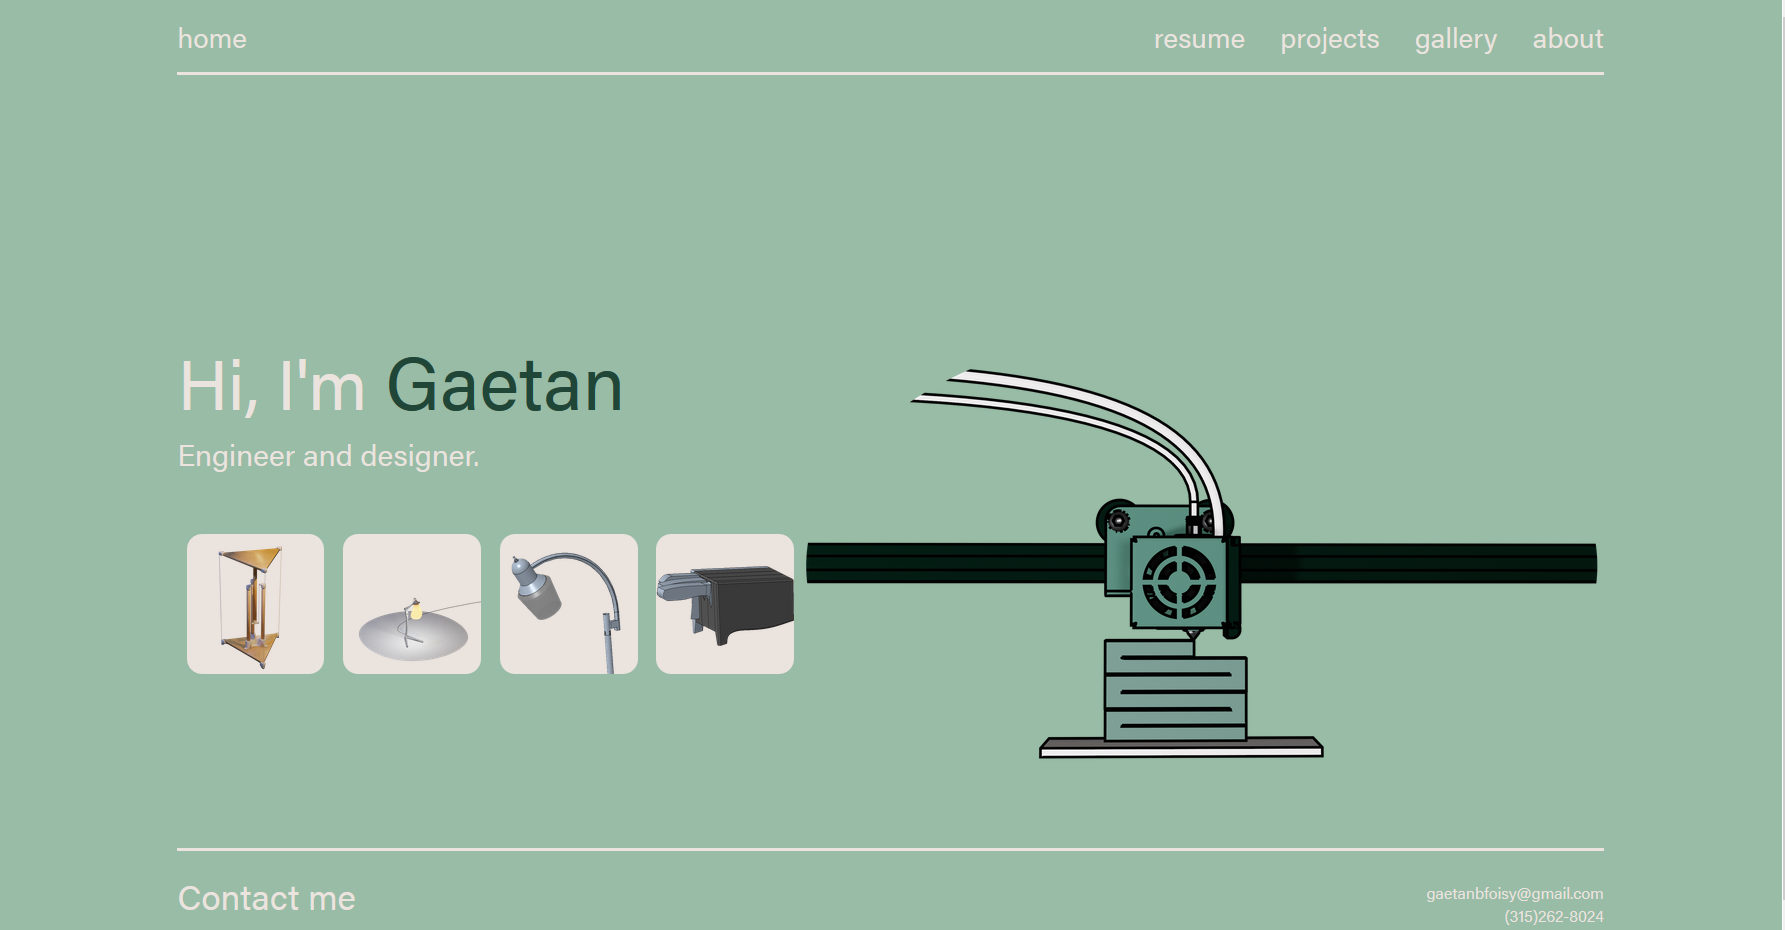
The final-ish design for my coverpage.
With the cover page mostly completed and a clear path for the rest of the site, I began blocking out the rest of the pages and got to work coding.
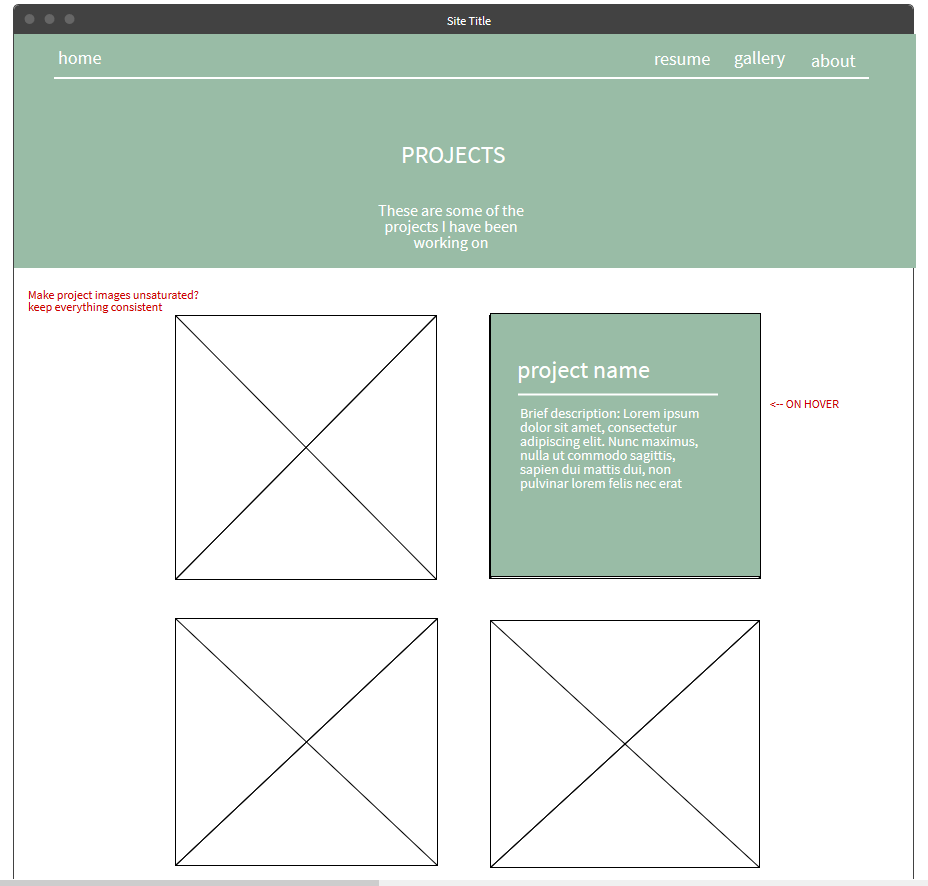
Wireframe design of my "Projects" page, complete with a few notes.
This is normally the place where you showcase your final product, and it feels weird not to do it, so here is a link to my website.